

How to Prevent OBS Live Stream from Stopping After Closing RDP
One of the common issues faced by streamers and content creators who use OBS (Open Broadcaster Software) is that their live stream stops after disconnecting a Remote Desktop Protocol (RDP) session. This happens because RDP, by design, closes the virtual display when the session is disconnected, which causes OBS to stop capturing and streaming. In this detailed guide, we will explain the root causes behind this problem and walk you through several potential solutions to keep your stream running without interruption.
Why OBS Live Stream Stops When You Disconnect RDP?
OBS requires an active display output to capture video from the screen. When you use RDP to remotely control a computer, it creates a virtual display (essentially, a fake monitor) that OBS can recognize and use for streaming.
However, when you close the RDP session, that virtual display is removed, leaving OBS without an active display to capture. As a result, the streaming process is interrupted and your live stream stops. To maintain your live stream, you need to ensure that the computer has a persistent display output, even when the RDP session is closed.
TightVNC solves this problem by keeping the display output active even after you disconnect, allowing OBS to continue streaming as if the remote computer were still actively connected to a monitor.
Step-by-Step Guide: Using TightVNC to Keep OBS Live Streaming After Remote Session Ends
Download and Install TightVNC
To get started, you need to install TightVNC on both your local computer (from where you’ll control the remote machine) and the remote computer (where OBS is installed and streaming from).
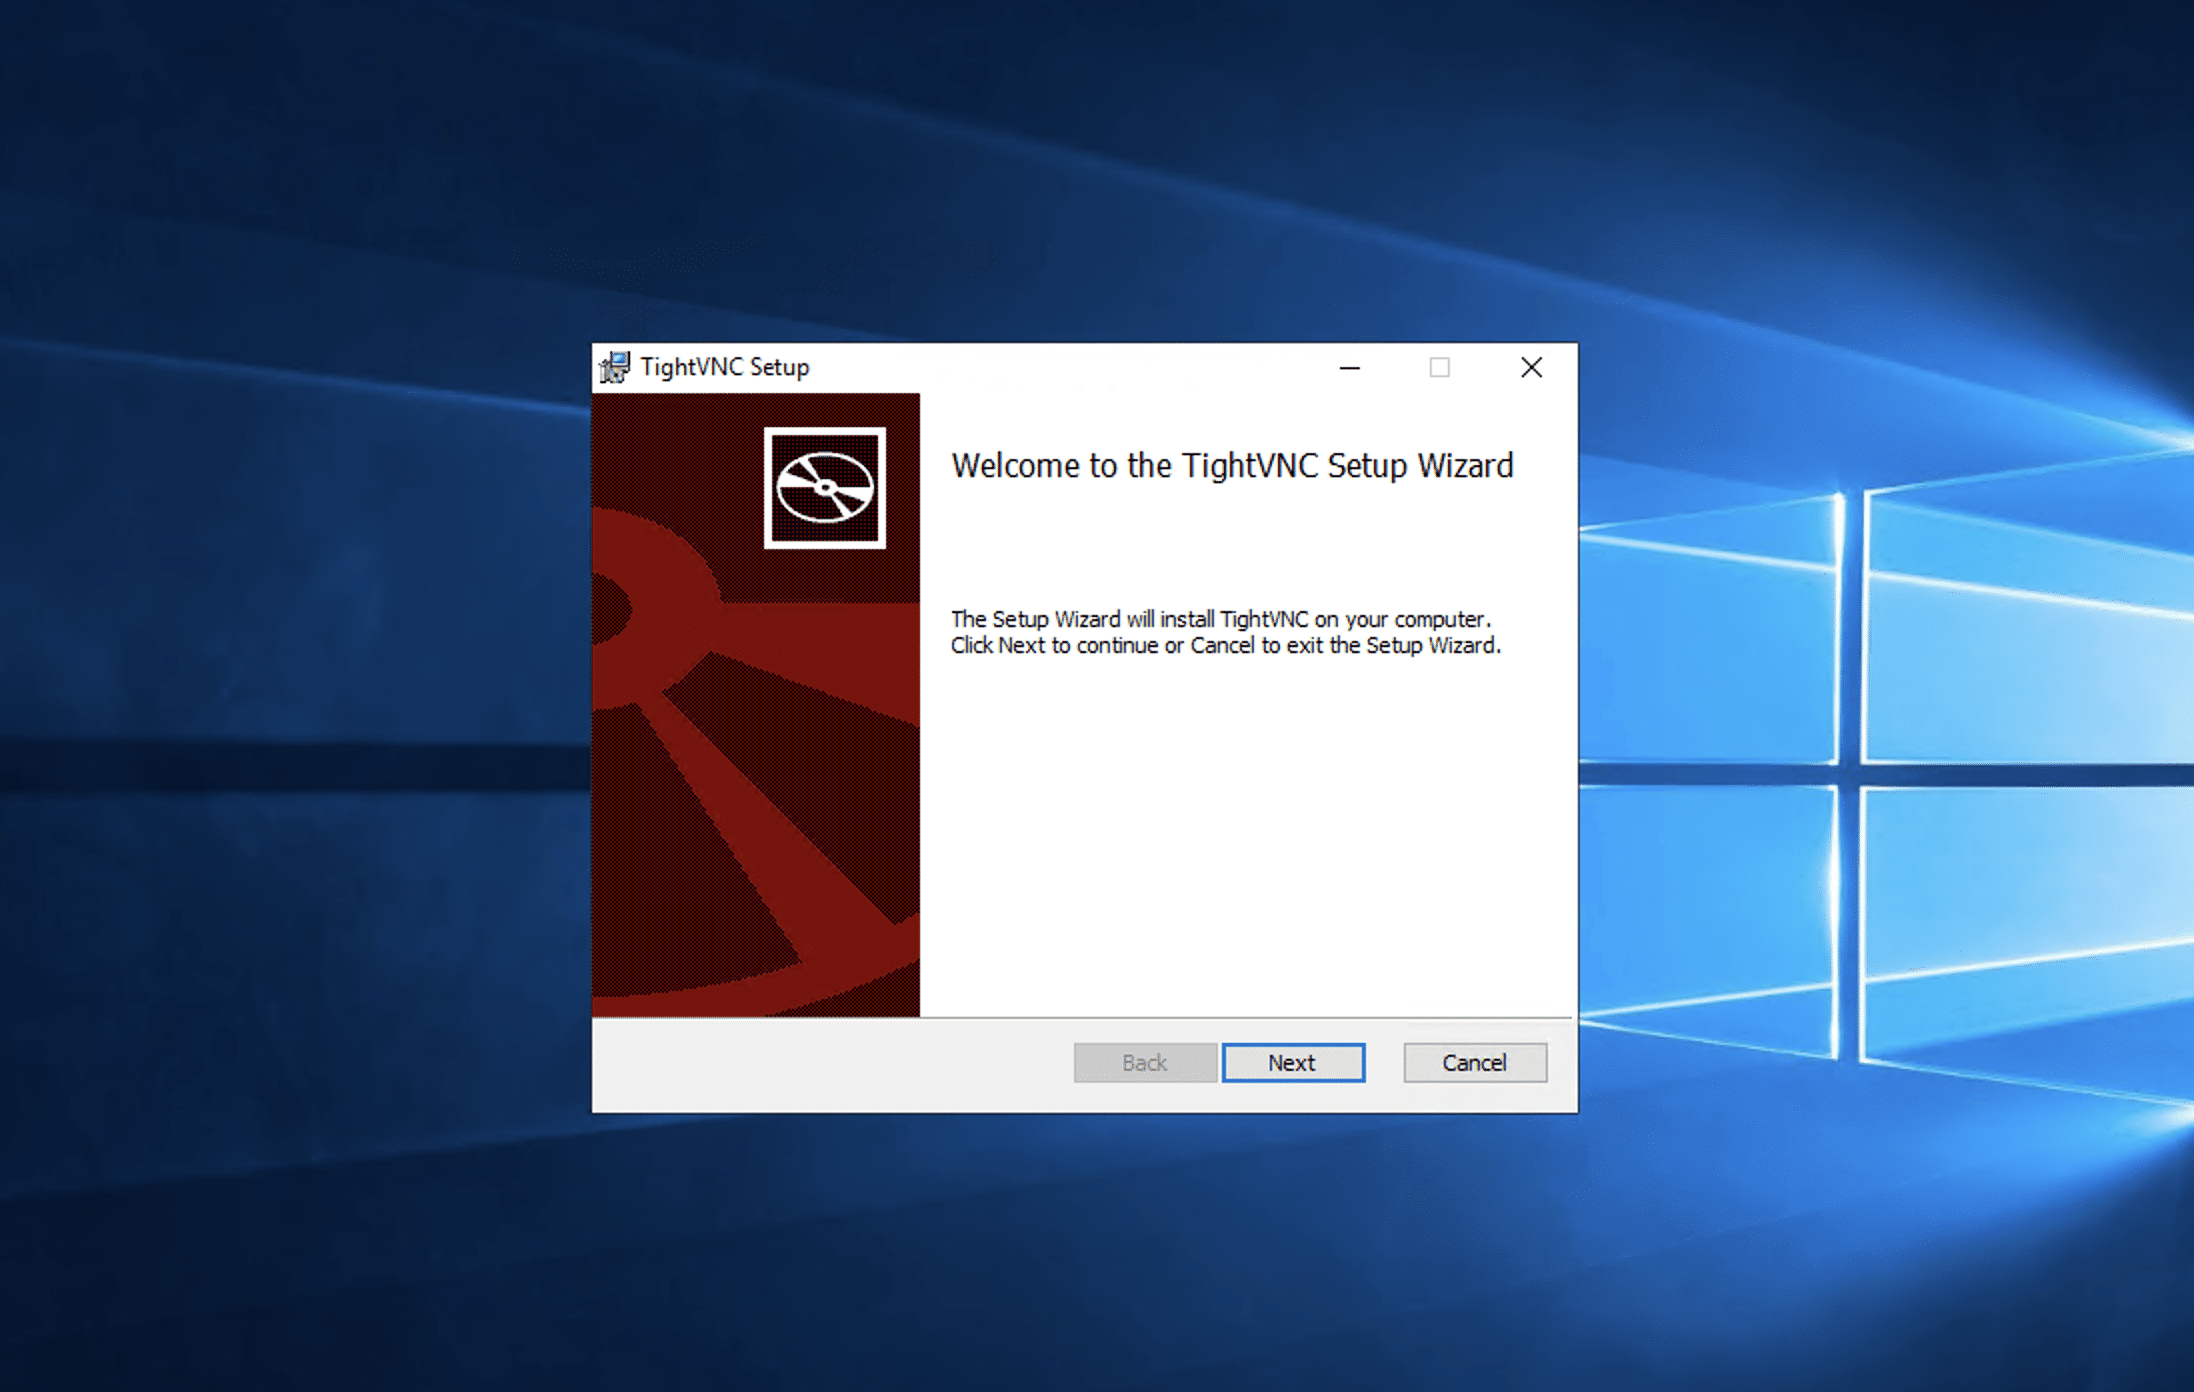
1. Visit the TightVNC website and download the TightVNC Server for Windows.
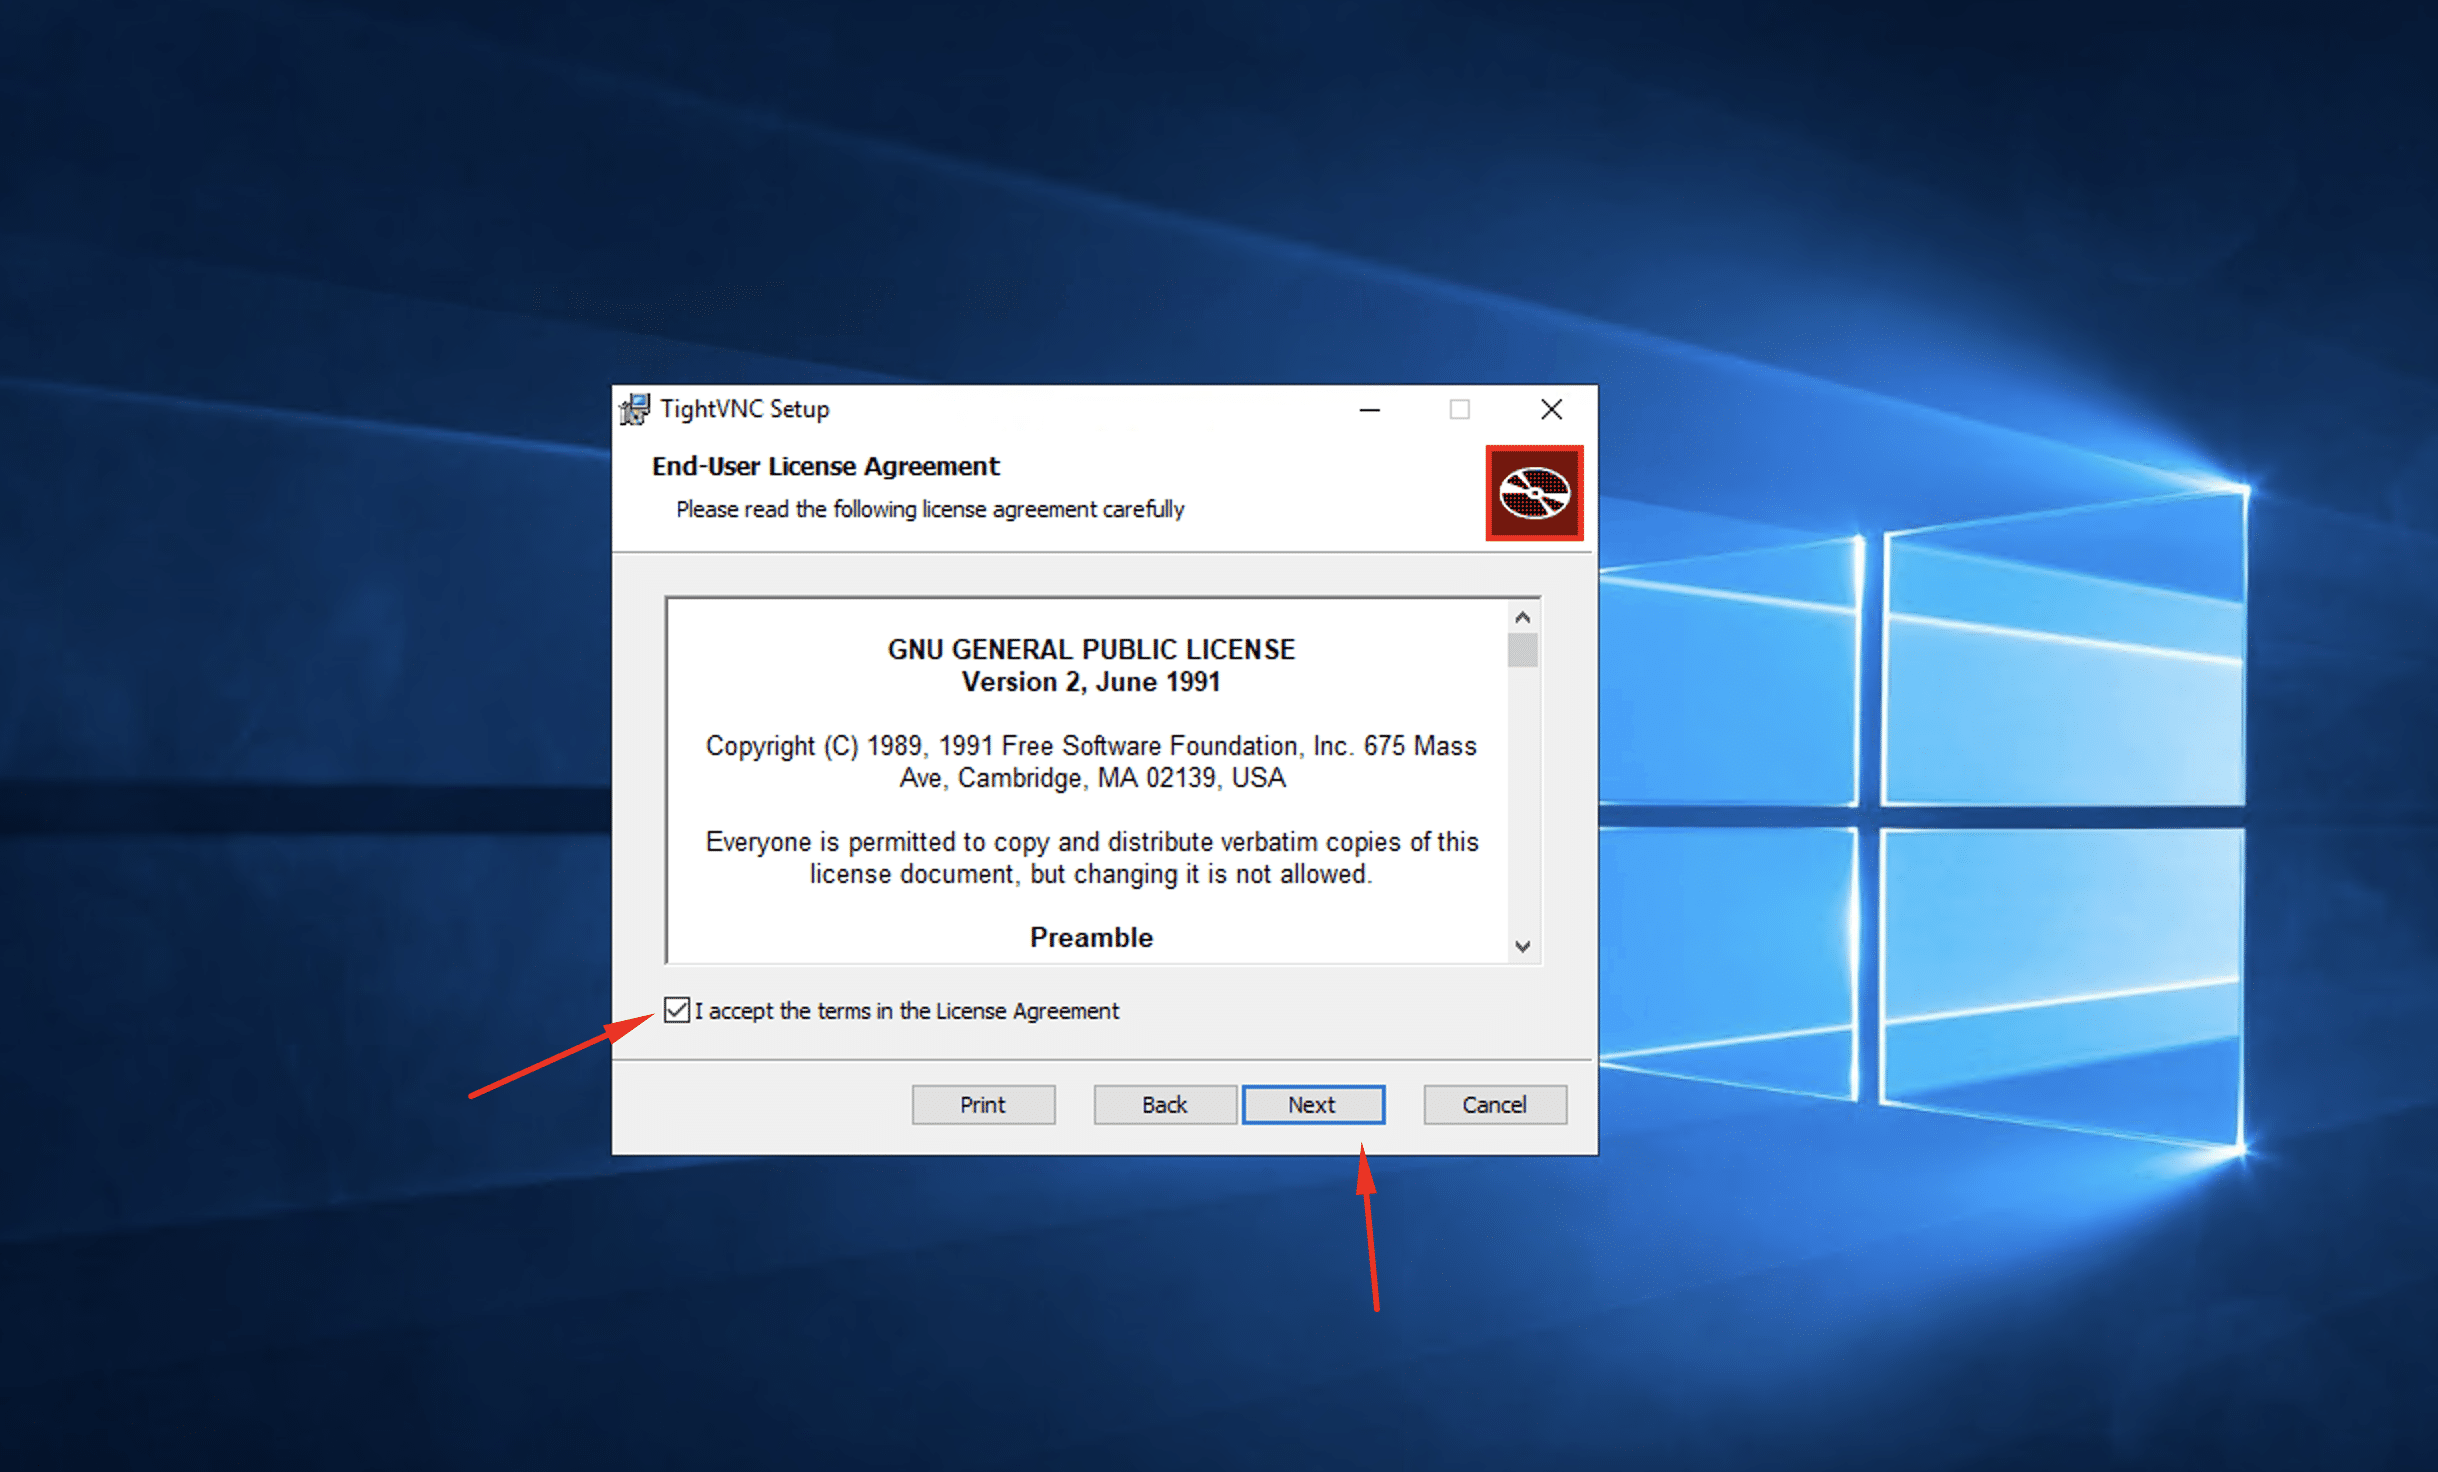
2. Install TightVNC: Follow the setup wizard. When prompted, select Complete as the setup type


5. Finish Setup: Click the Finish button to complete the installation.
6. Verify Running Status: Click the up arrow at the bottom right corner of your RDP window, next to the speaker icon, to ensure TightVNC is running.
Using RealVNC Viewer on your local computer
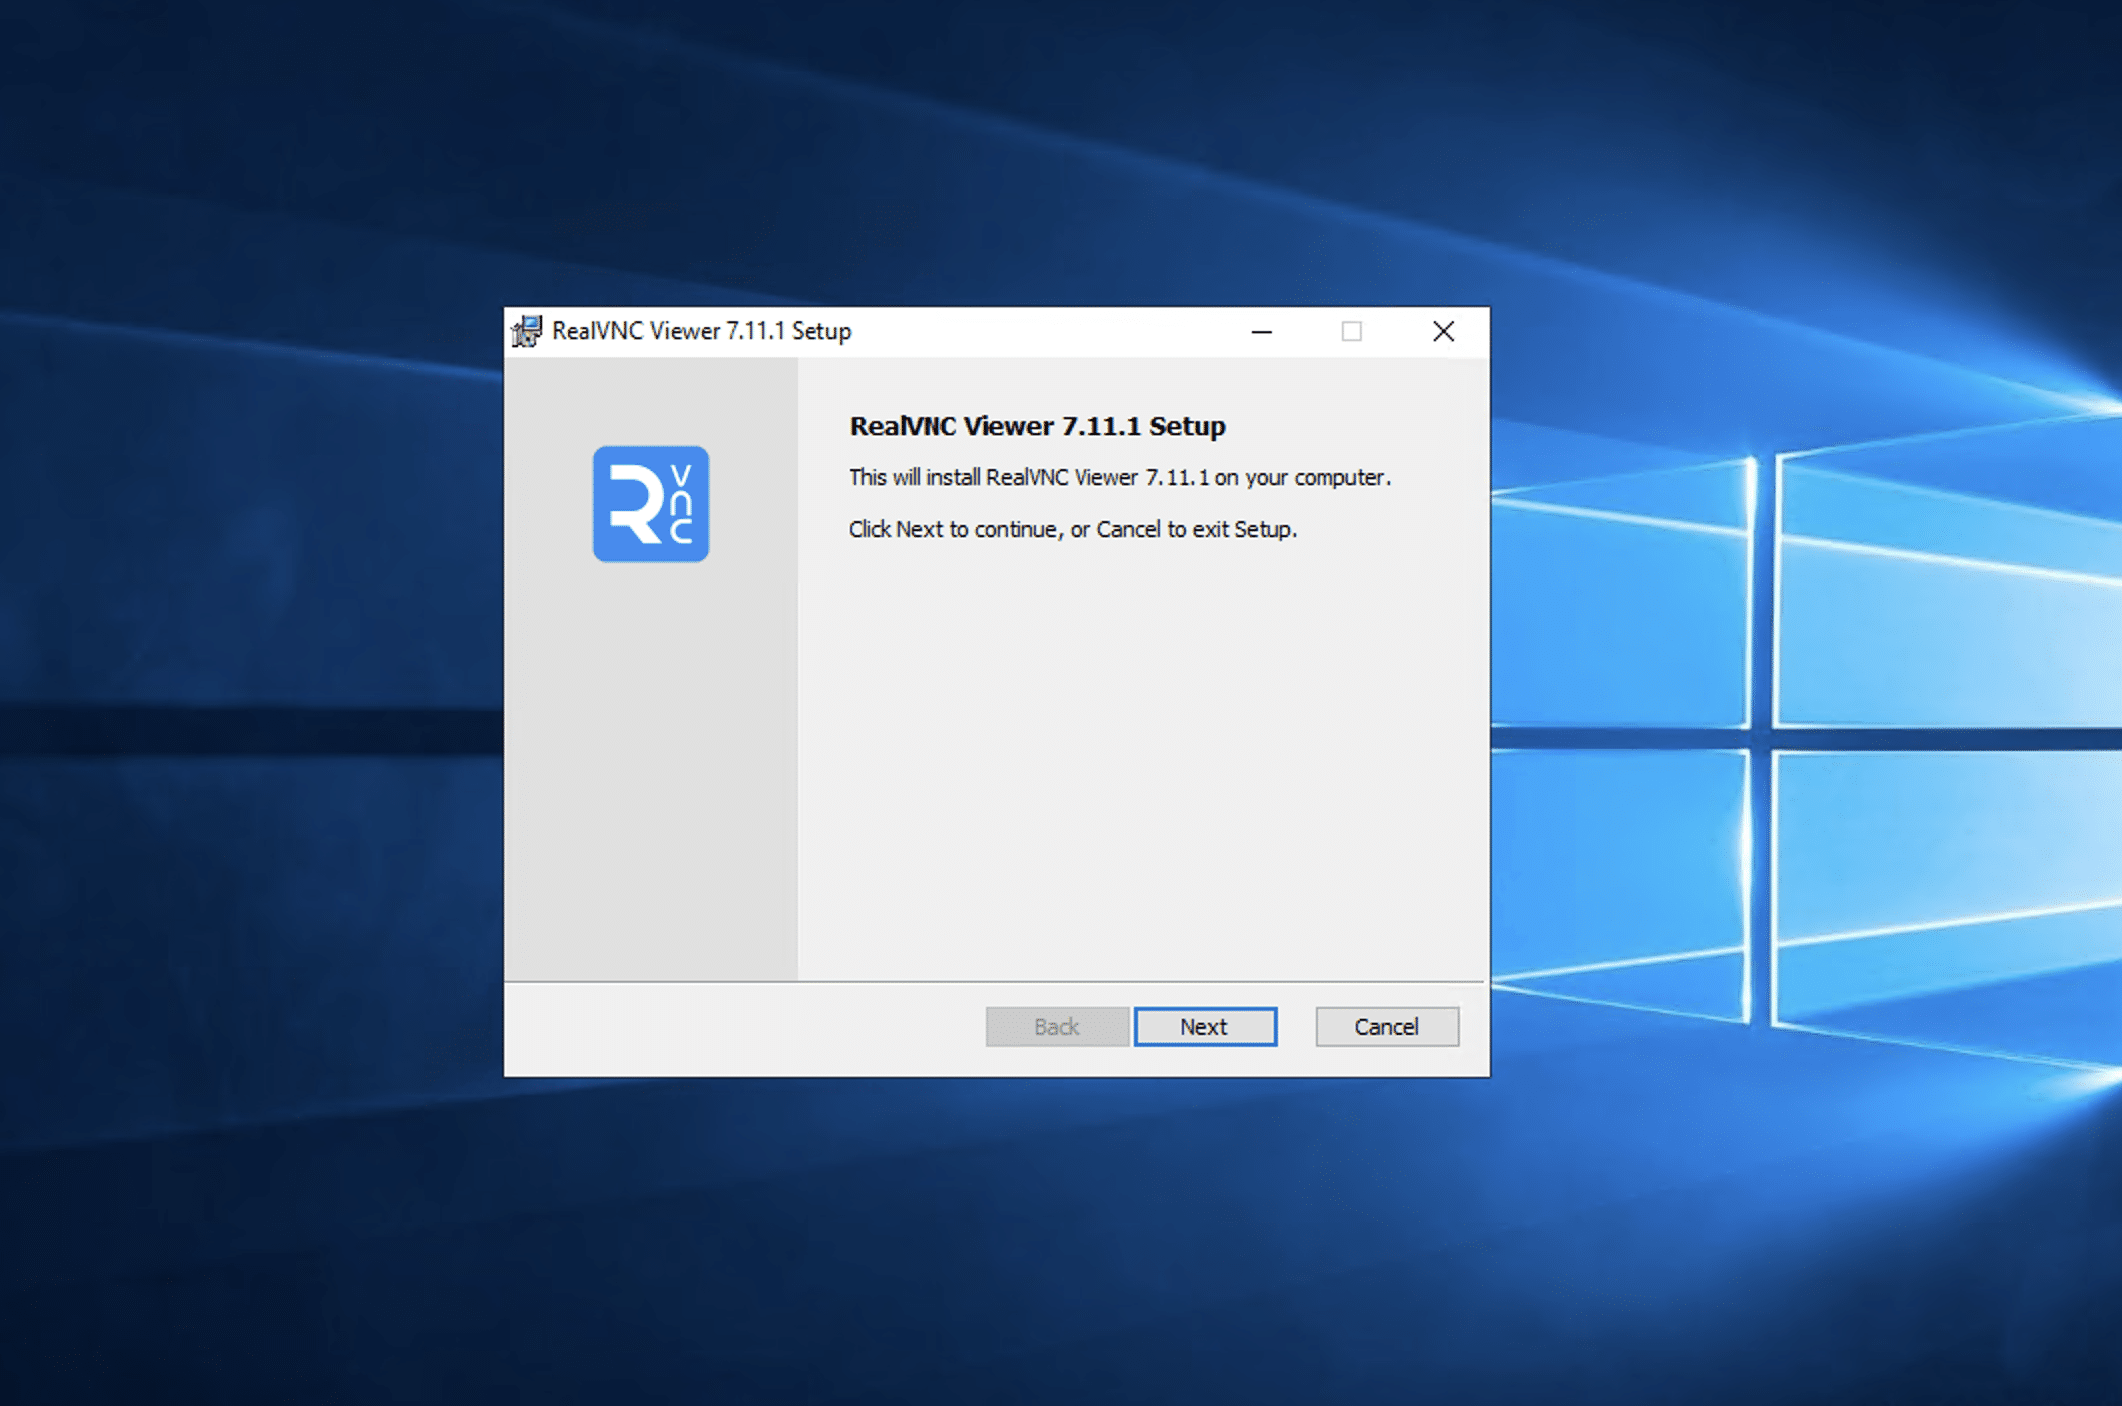
- Download RealVNC Viewer: Get RealVNC Viewer from their official website.
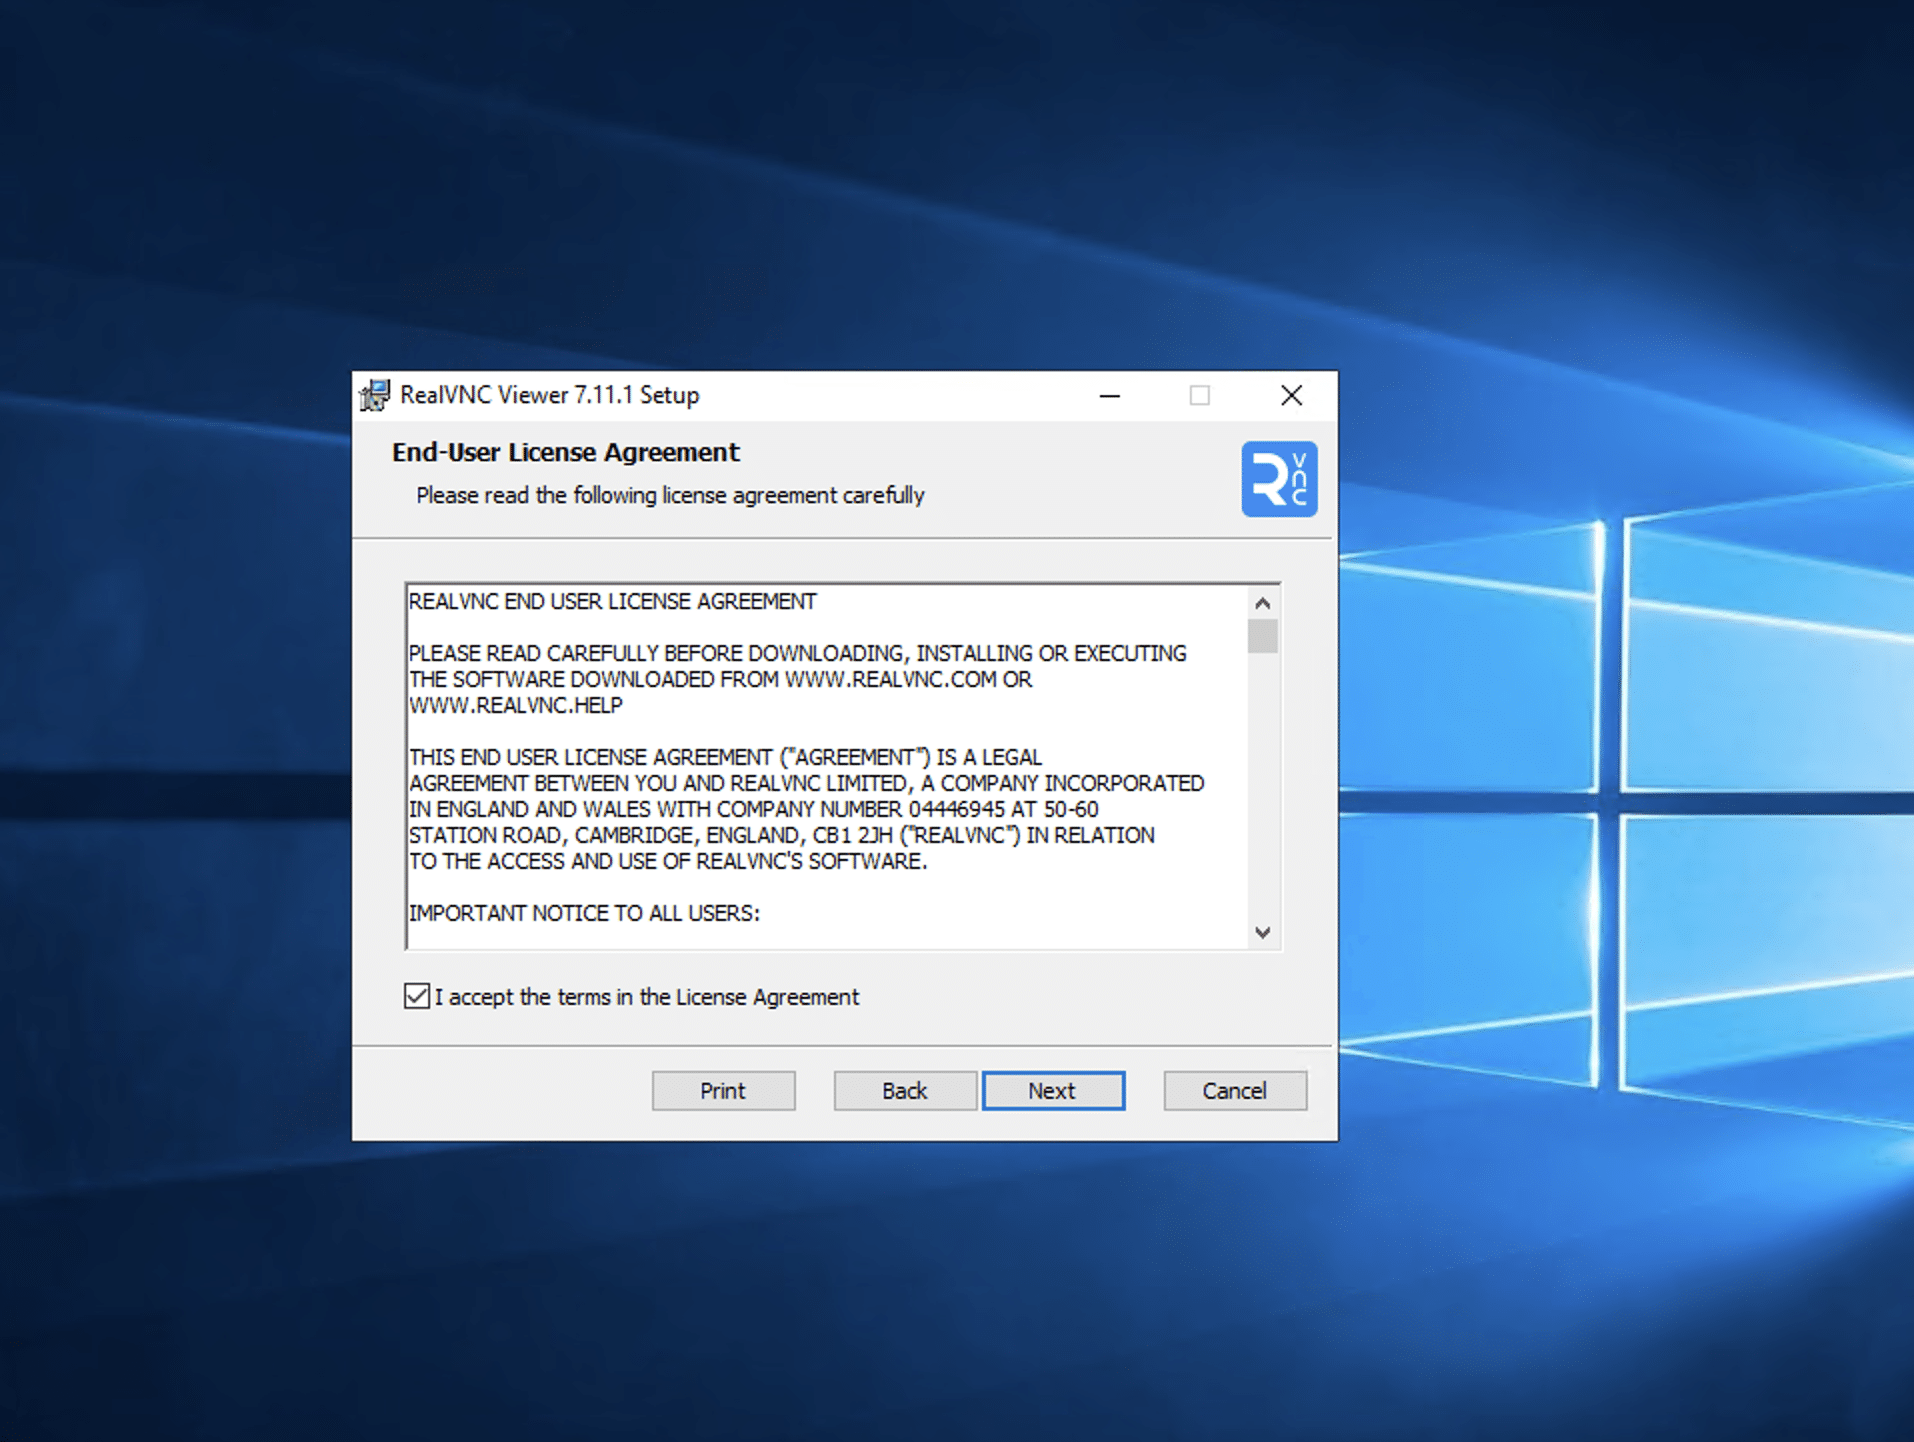
- Install RealVNC Viewer: Follow the setup wizard and click the Install button.
- Complete Installation: Click the Finish button to exit the setup.
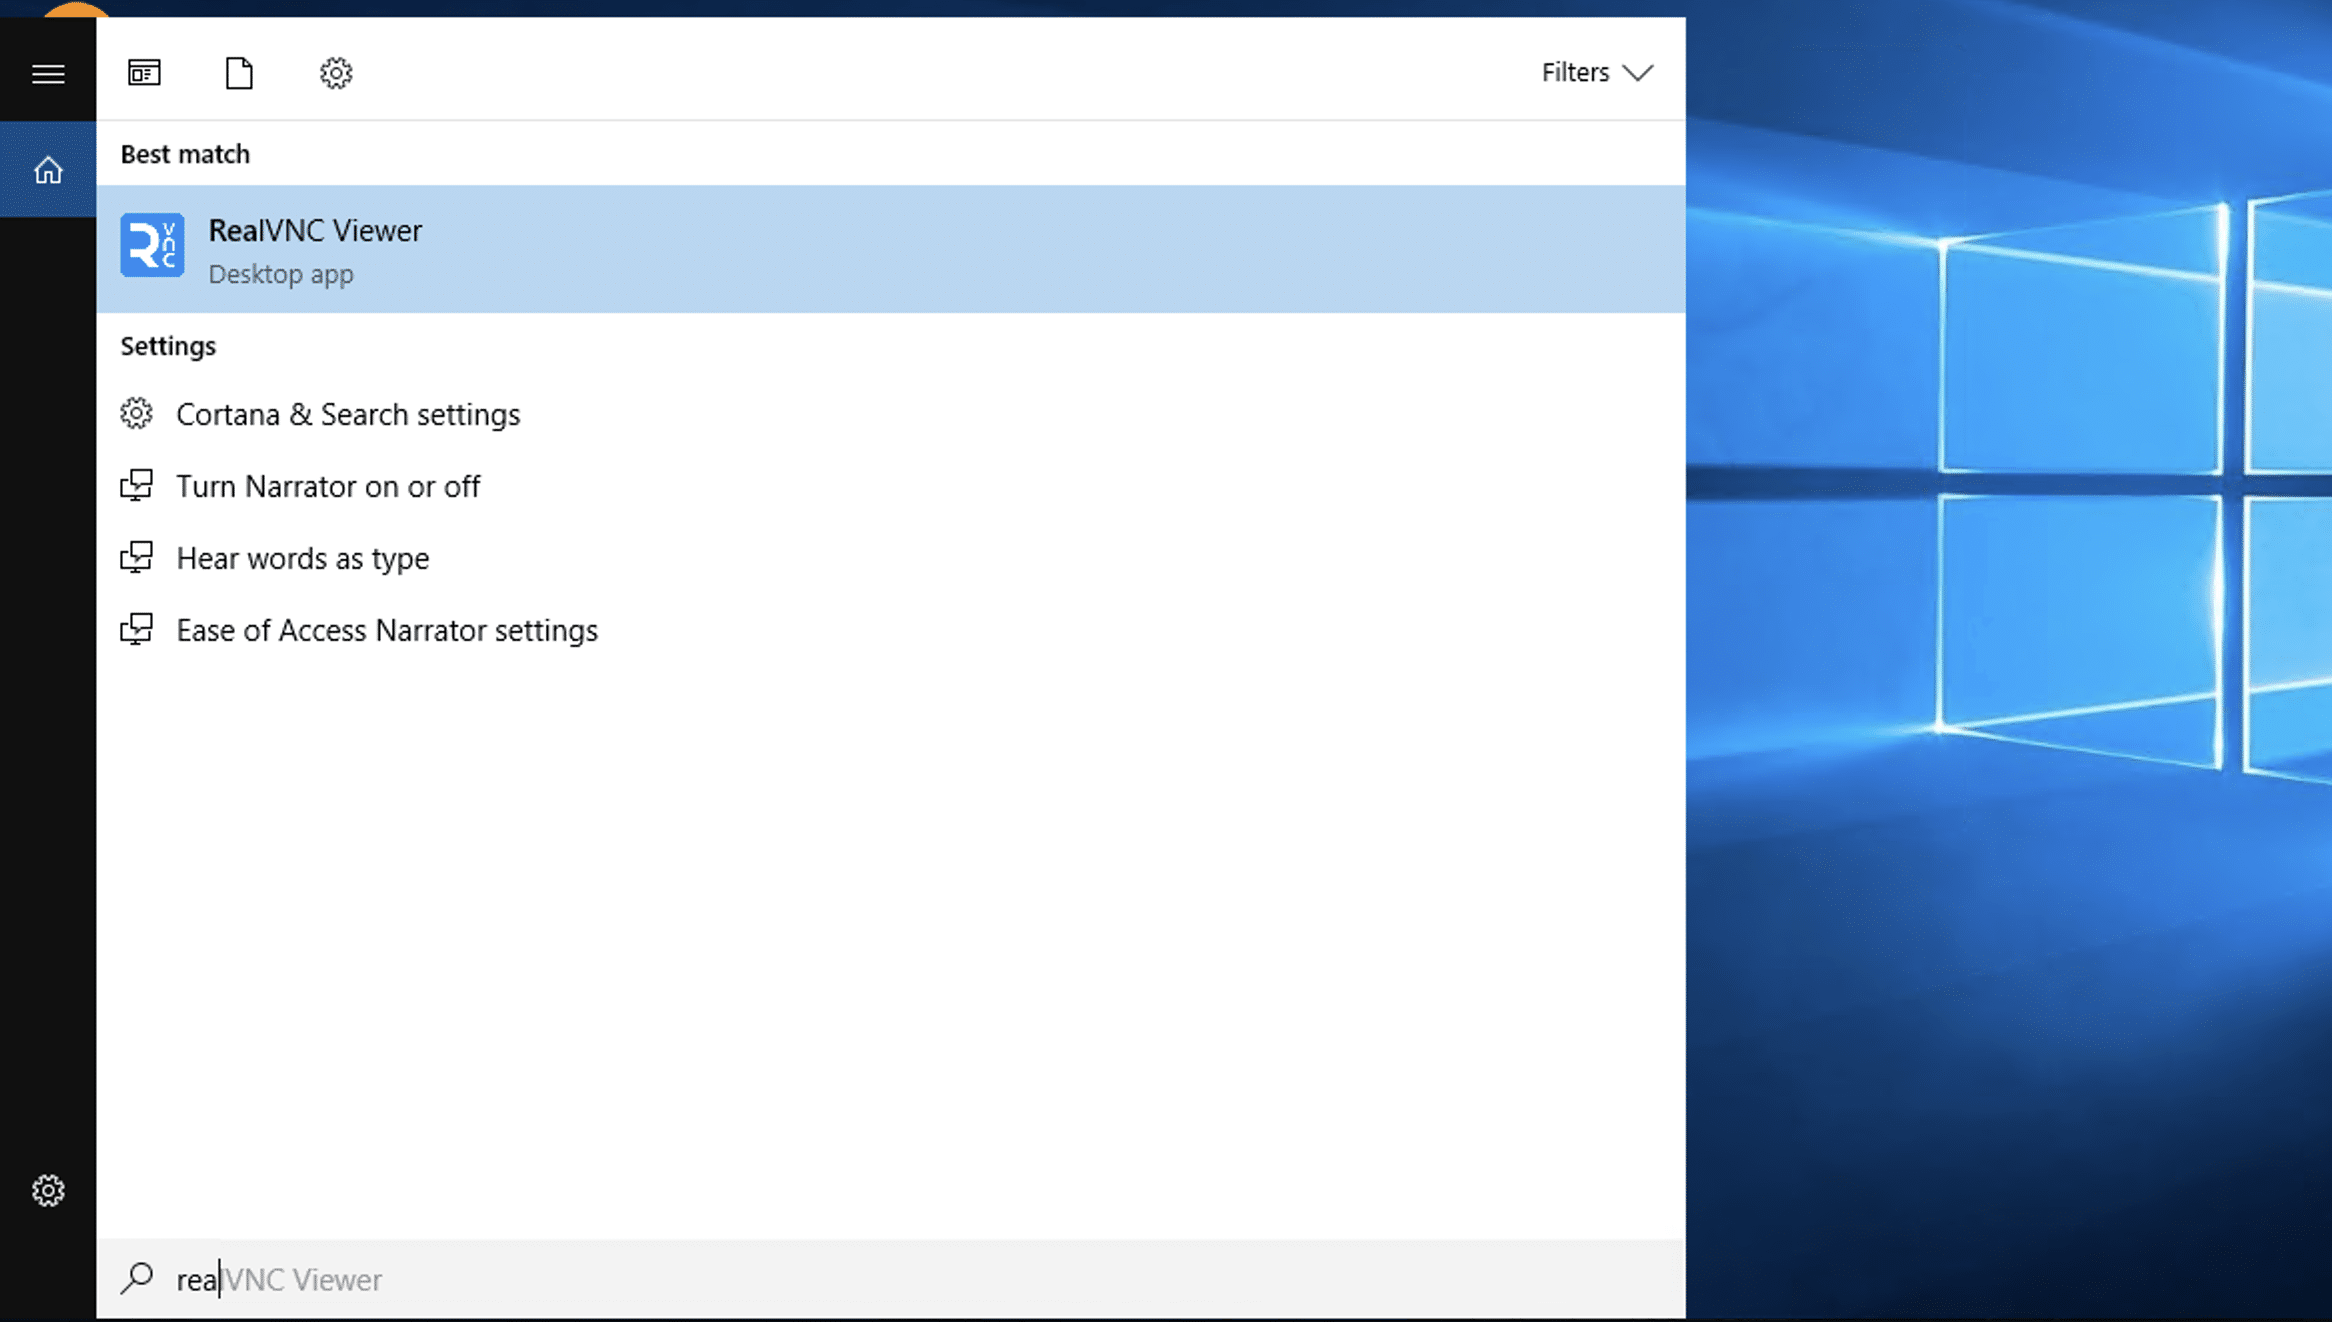
- Launch RealVNC Viewer: Click the Windows start button and find RealVNC Viewer under Recently added. Click to run it.
- Initial Setup: On the initial screen, uncheck Send anonymous usage data to help improve RealVNC Viewer. Then click Use RealVNC Viewer Without signing in.
- Connect to Server: At the top, in the bar labeled Enter a VNC server address or search, enter your VPS IP address followed by a colon and the port number.
- Connect: Press the Enter key on your keyboard to connect.
Setting up OBS
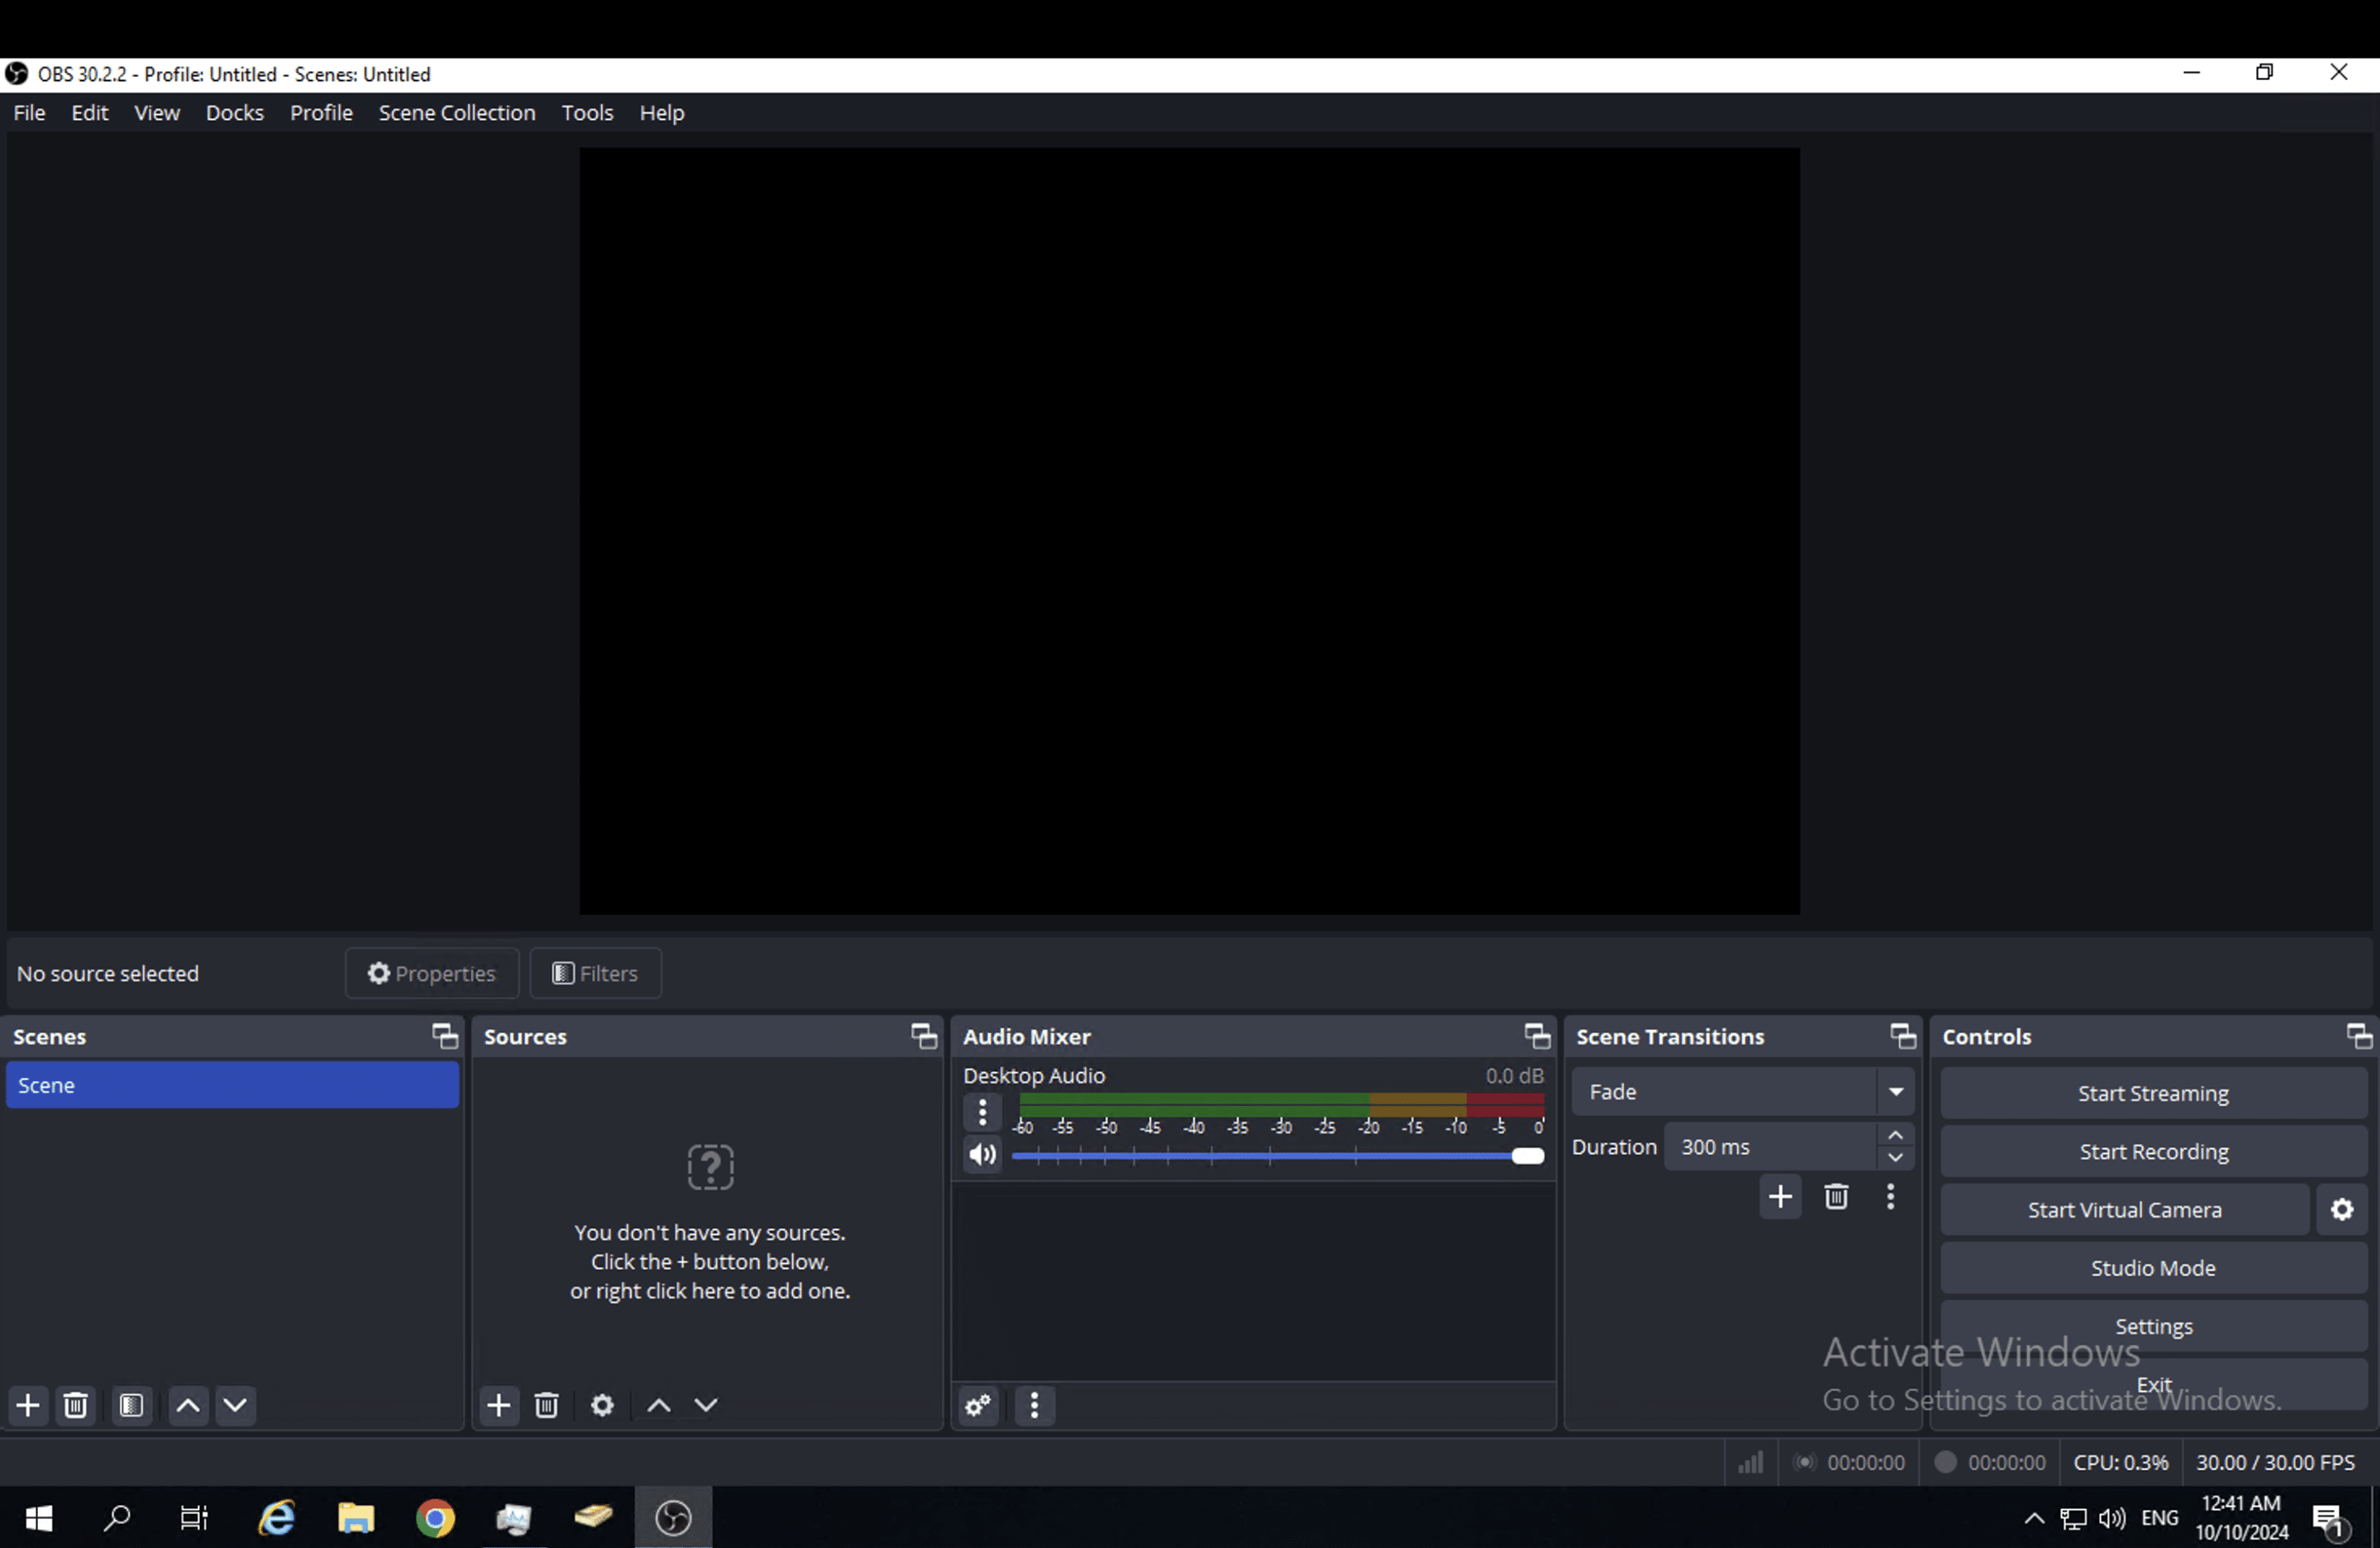
- Connect via RDP: Log in to your server using Remote Desktop Protocol (RDP) and set up OBS.
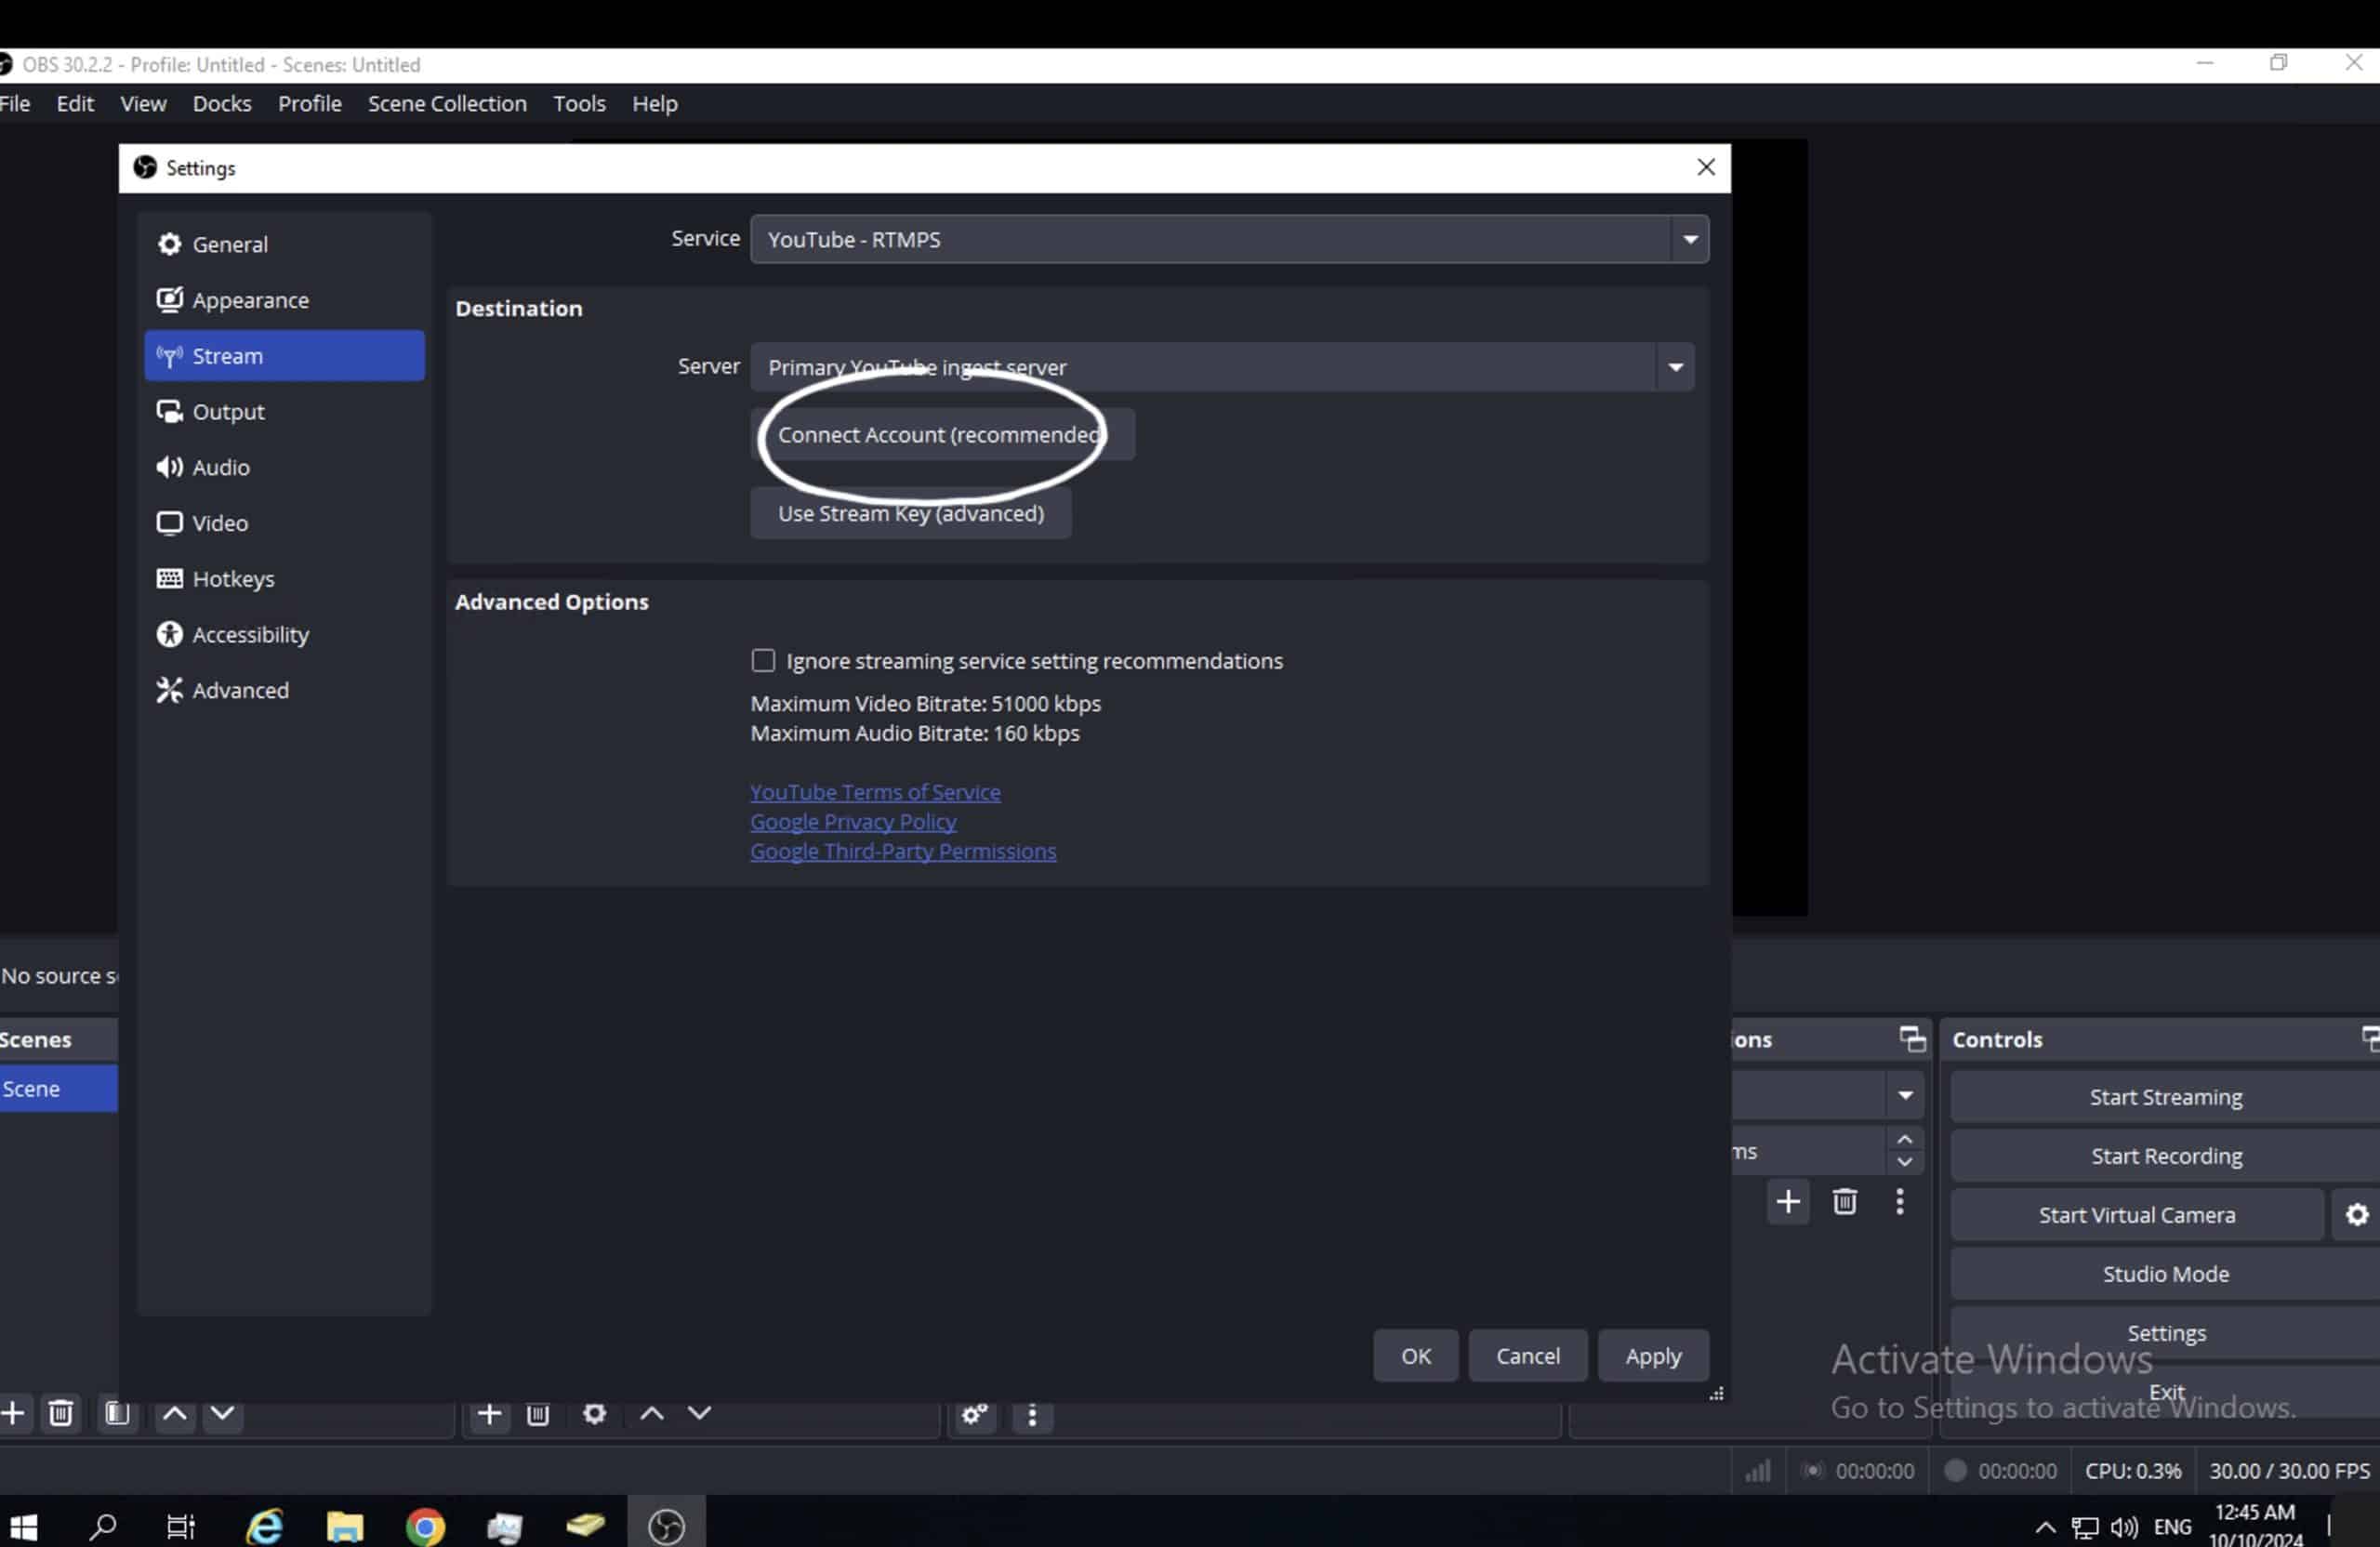
- Link OBS to Account: Connect OBS to the account where you’ll broadcast your live stream.
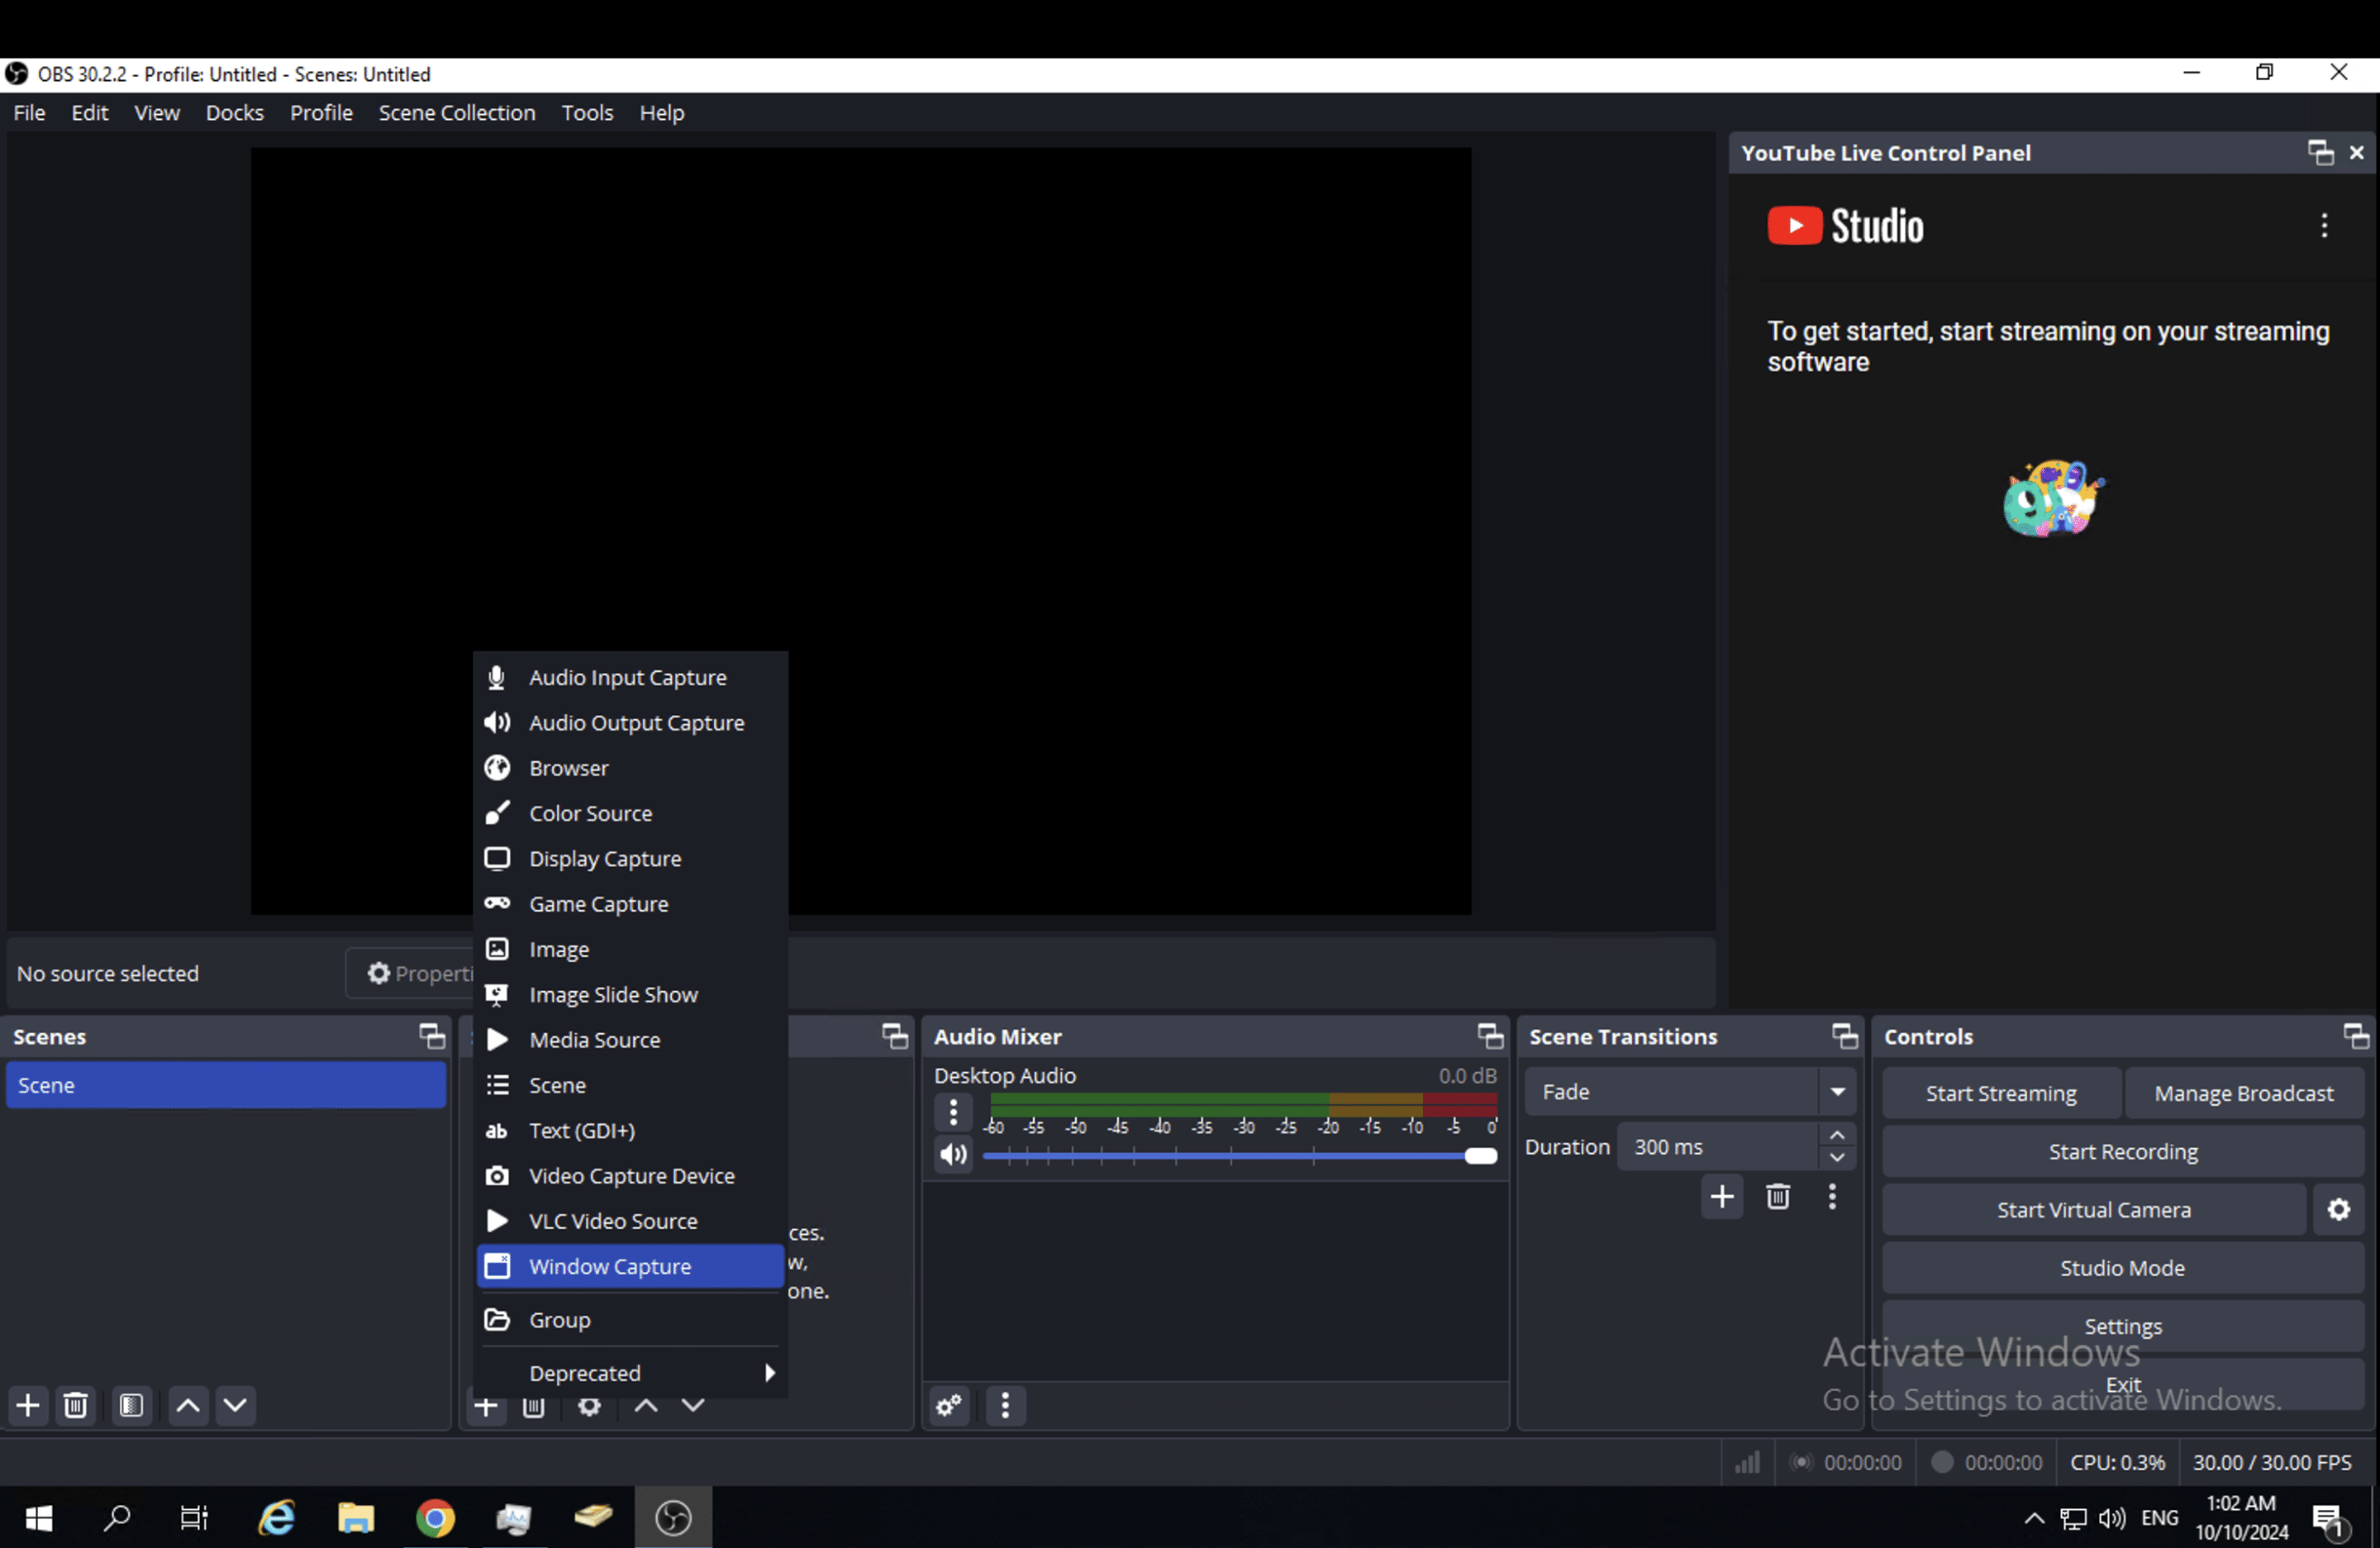
- Add Source: In OBS, under the Source section, click the plus icon and select Window Capture.
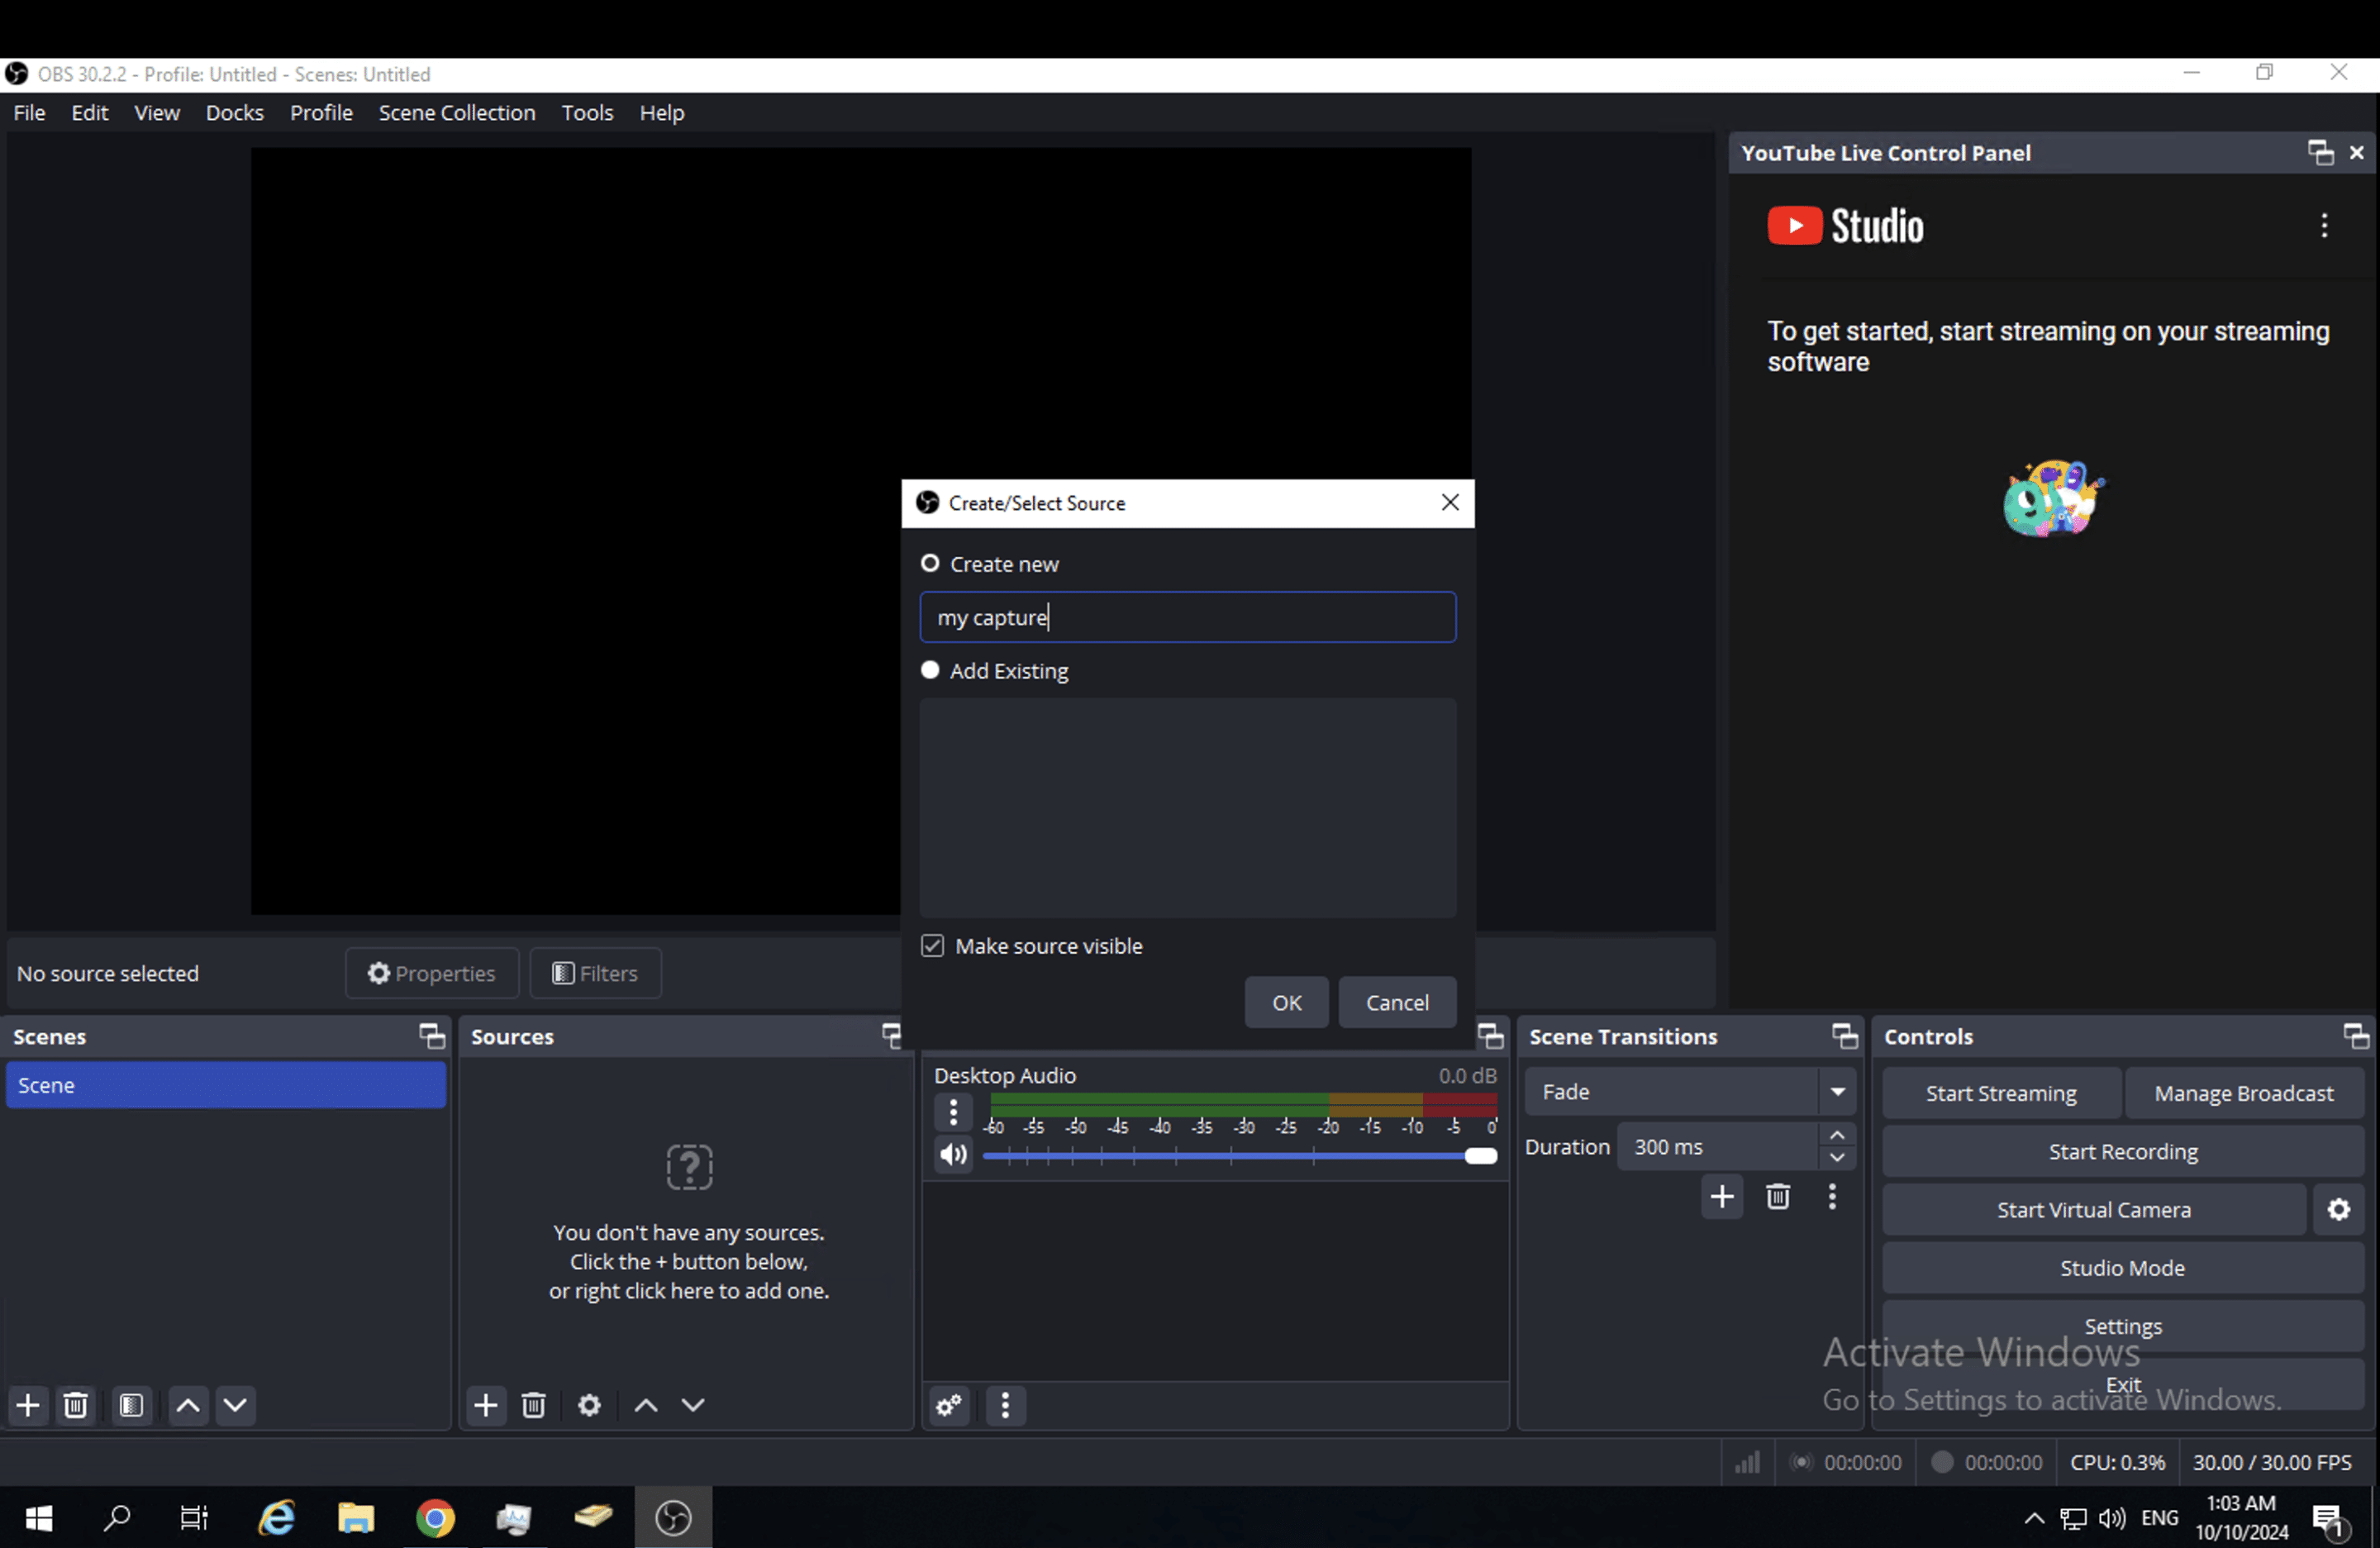
- Configure Window Capture: Describe the capture briefly, then click OK.

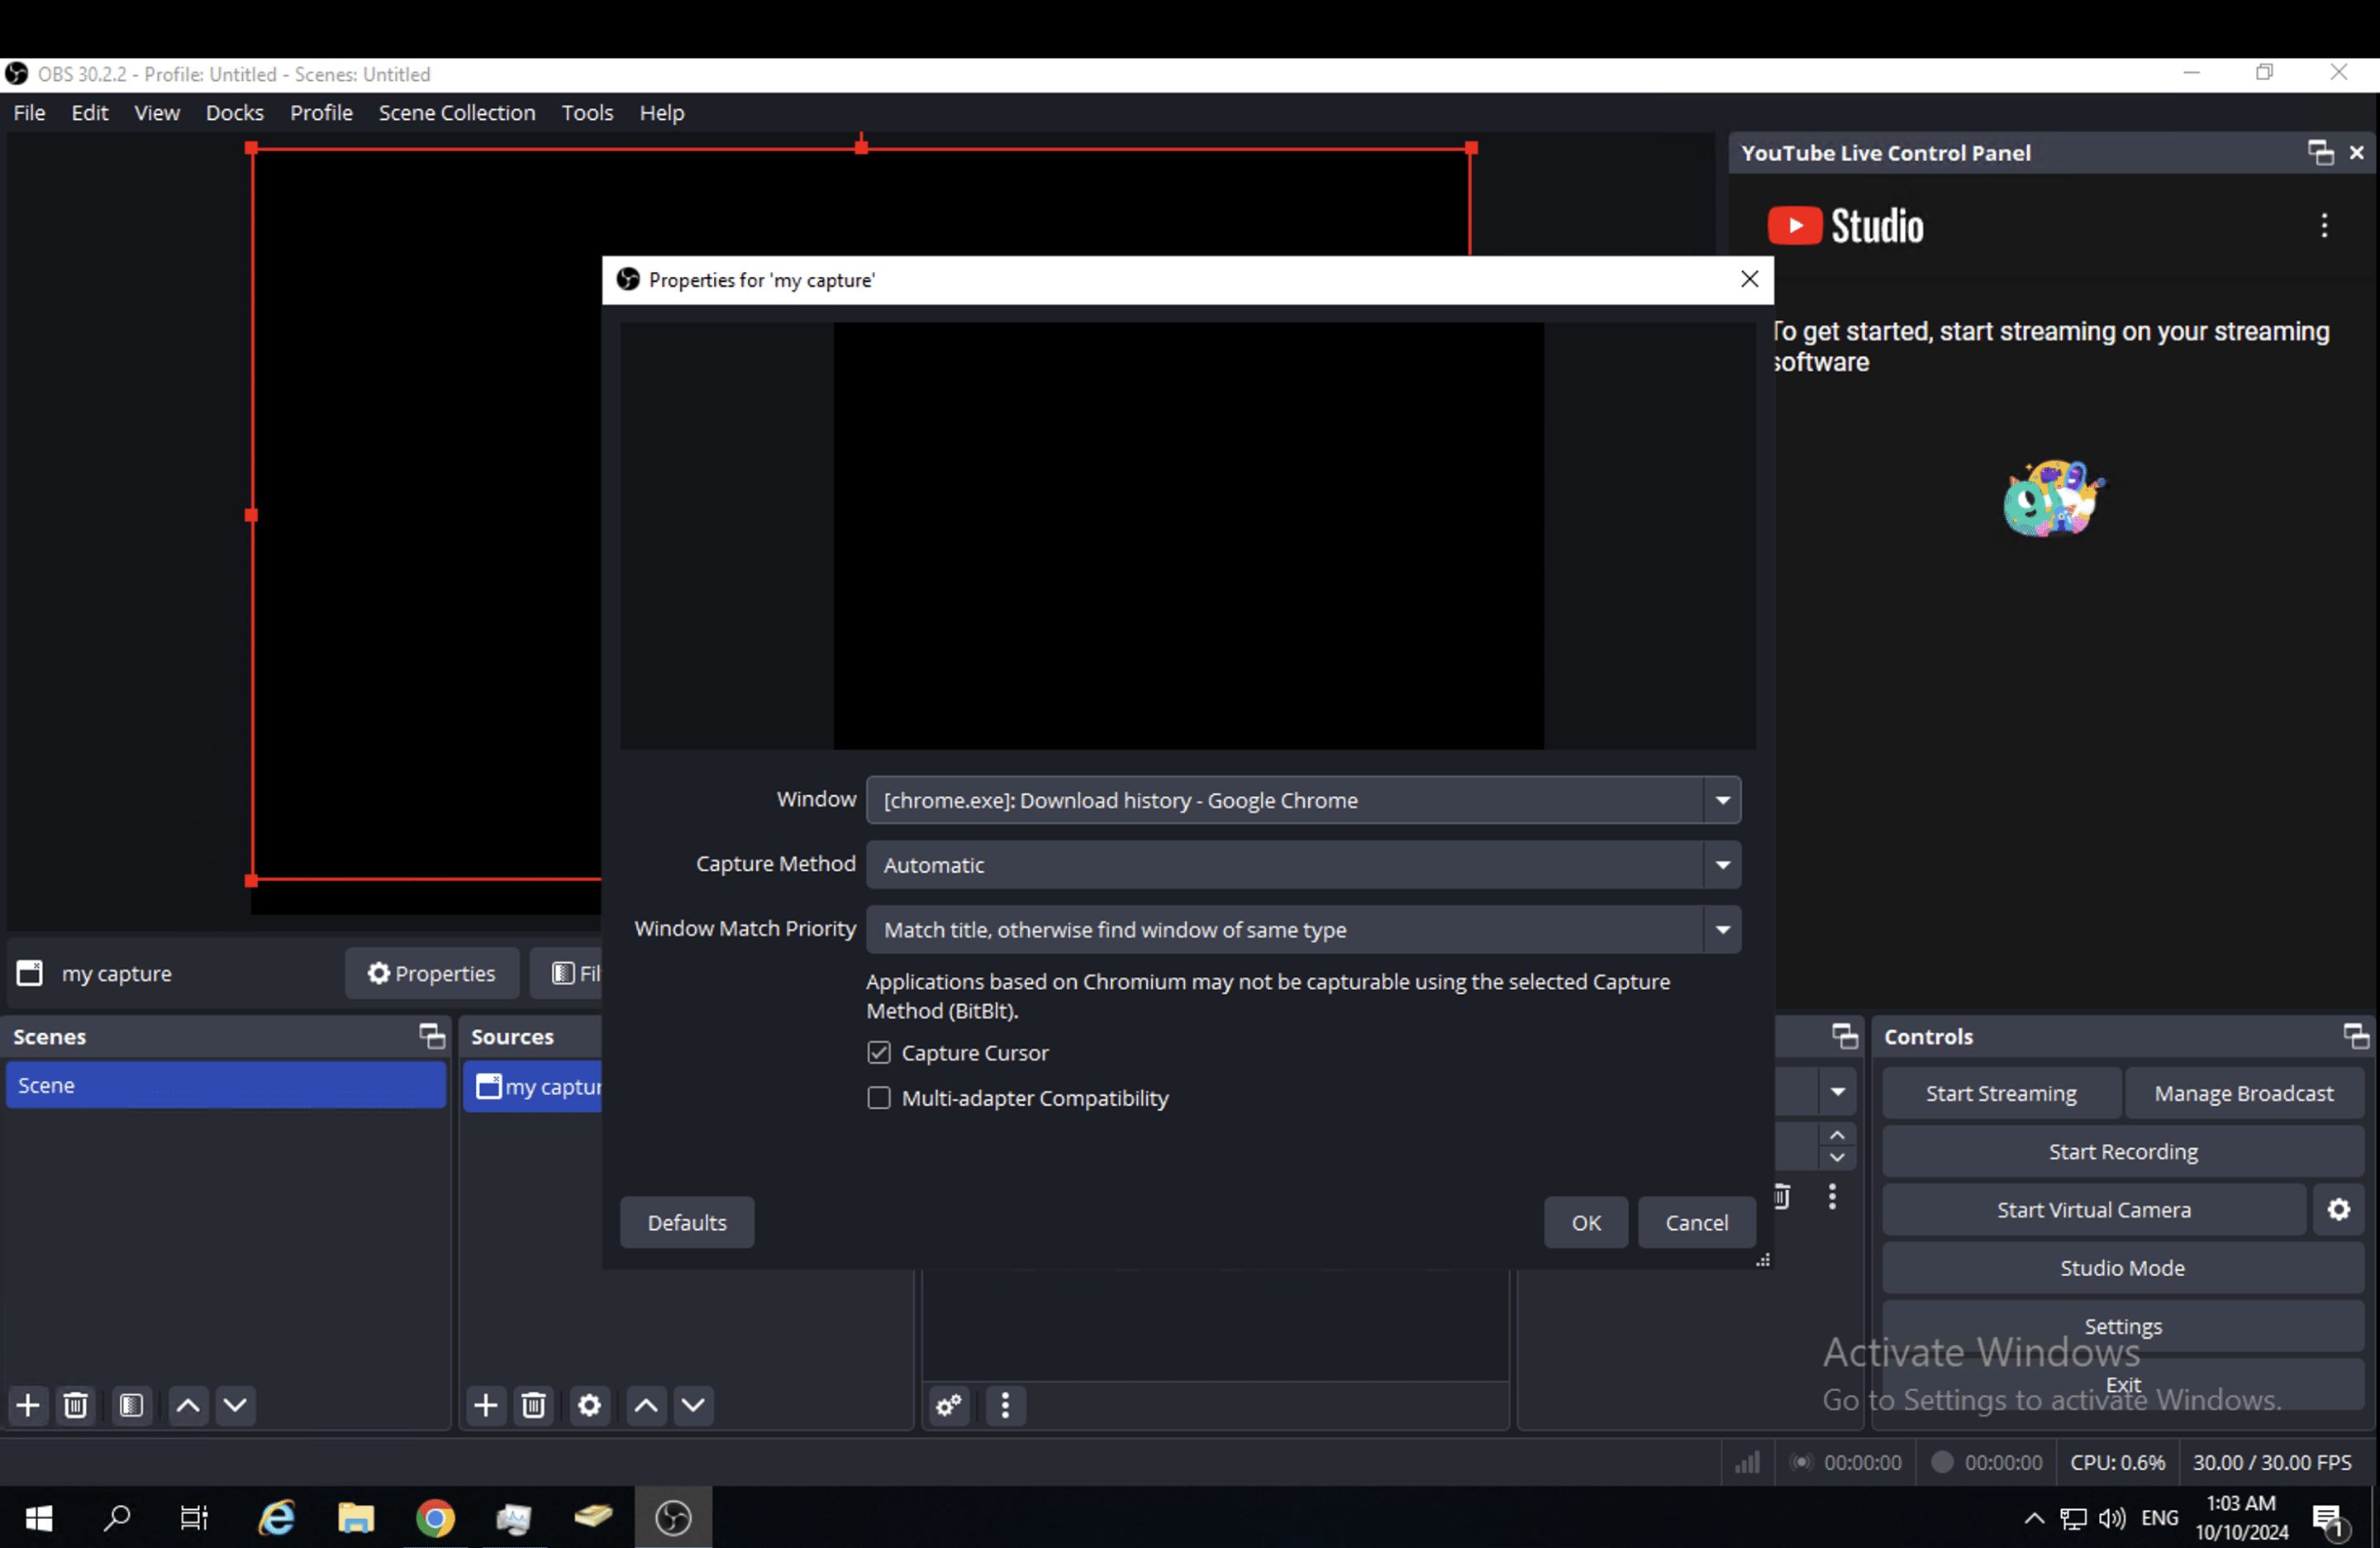
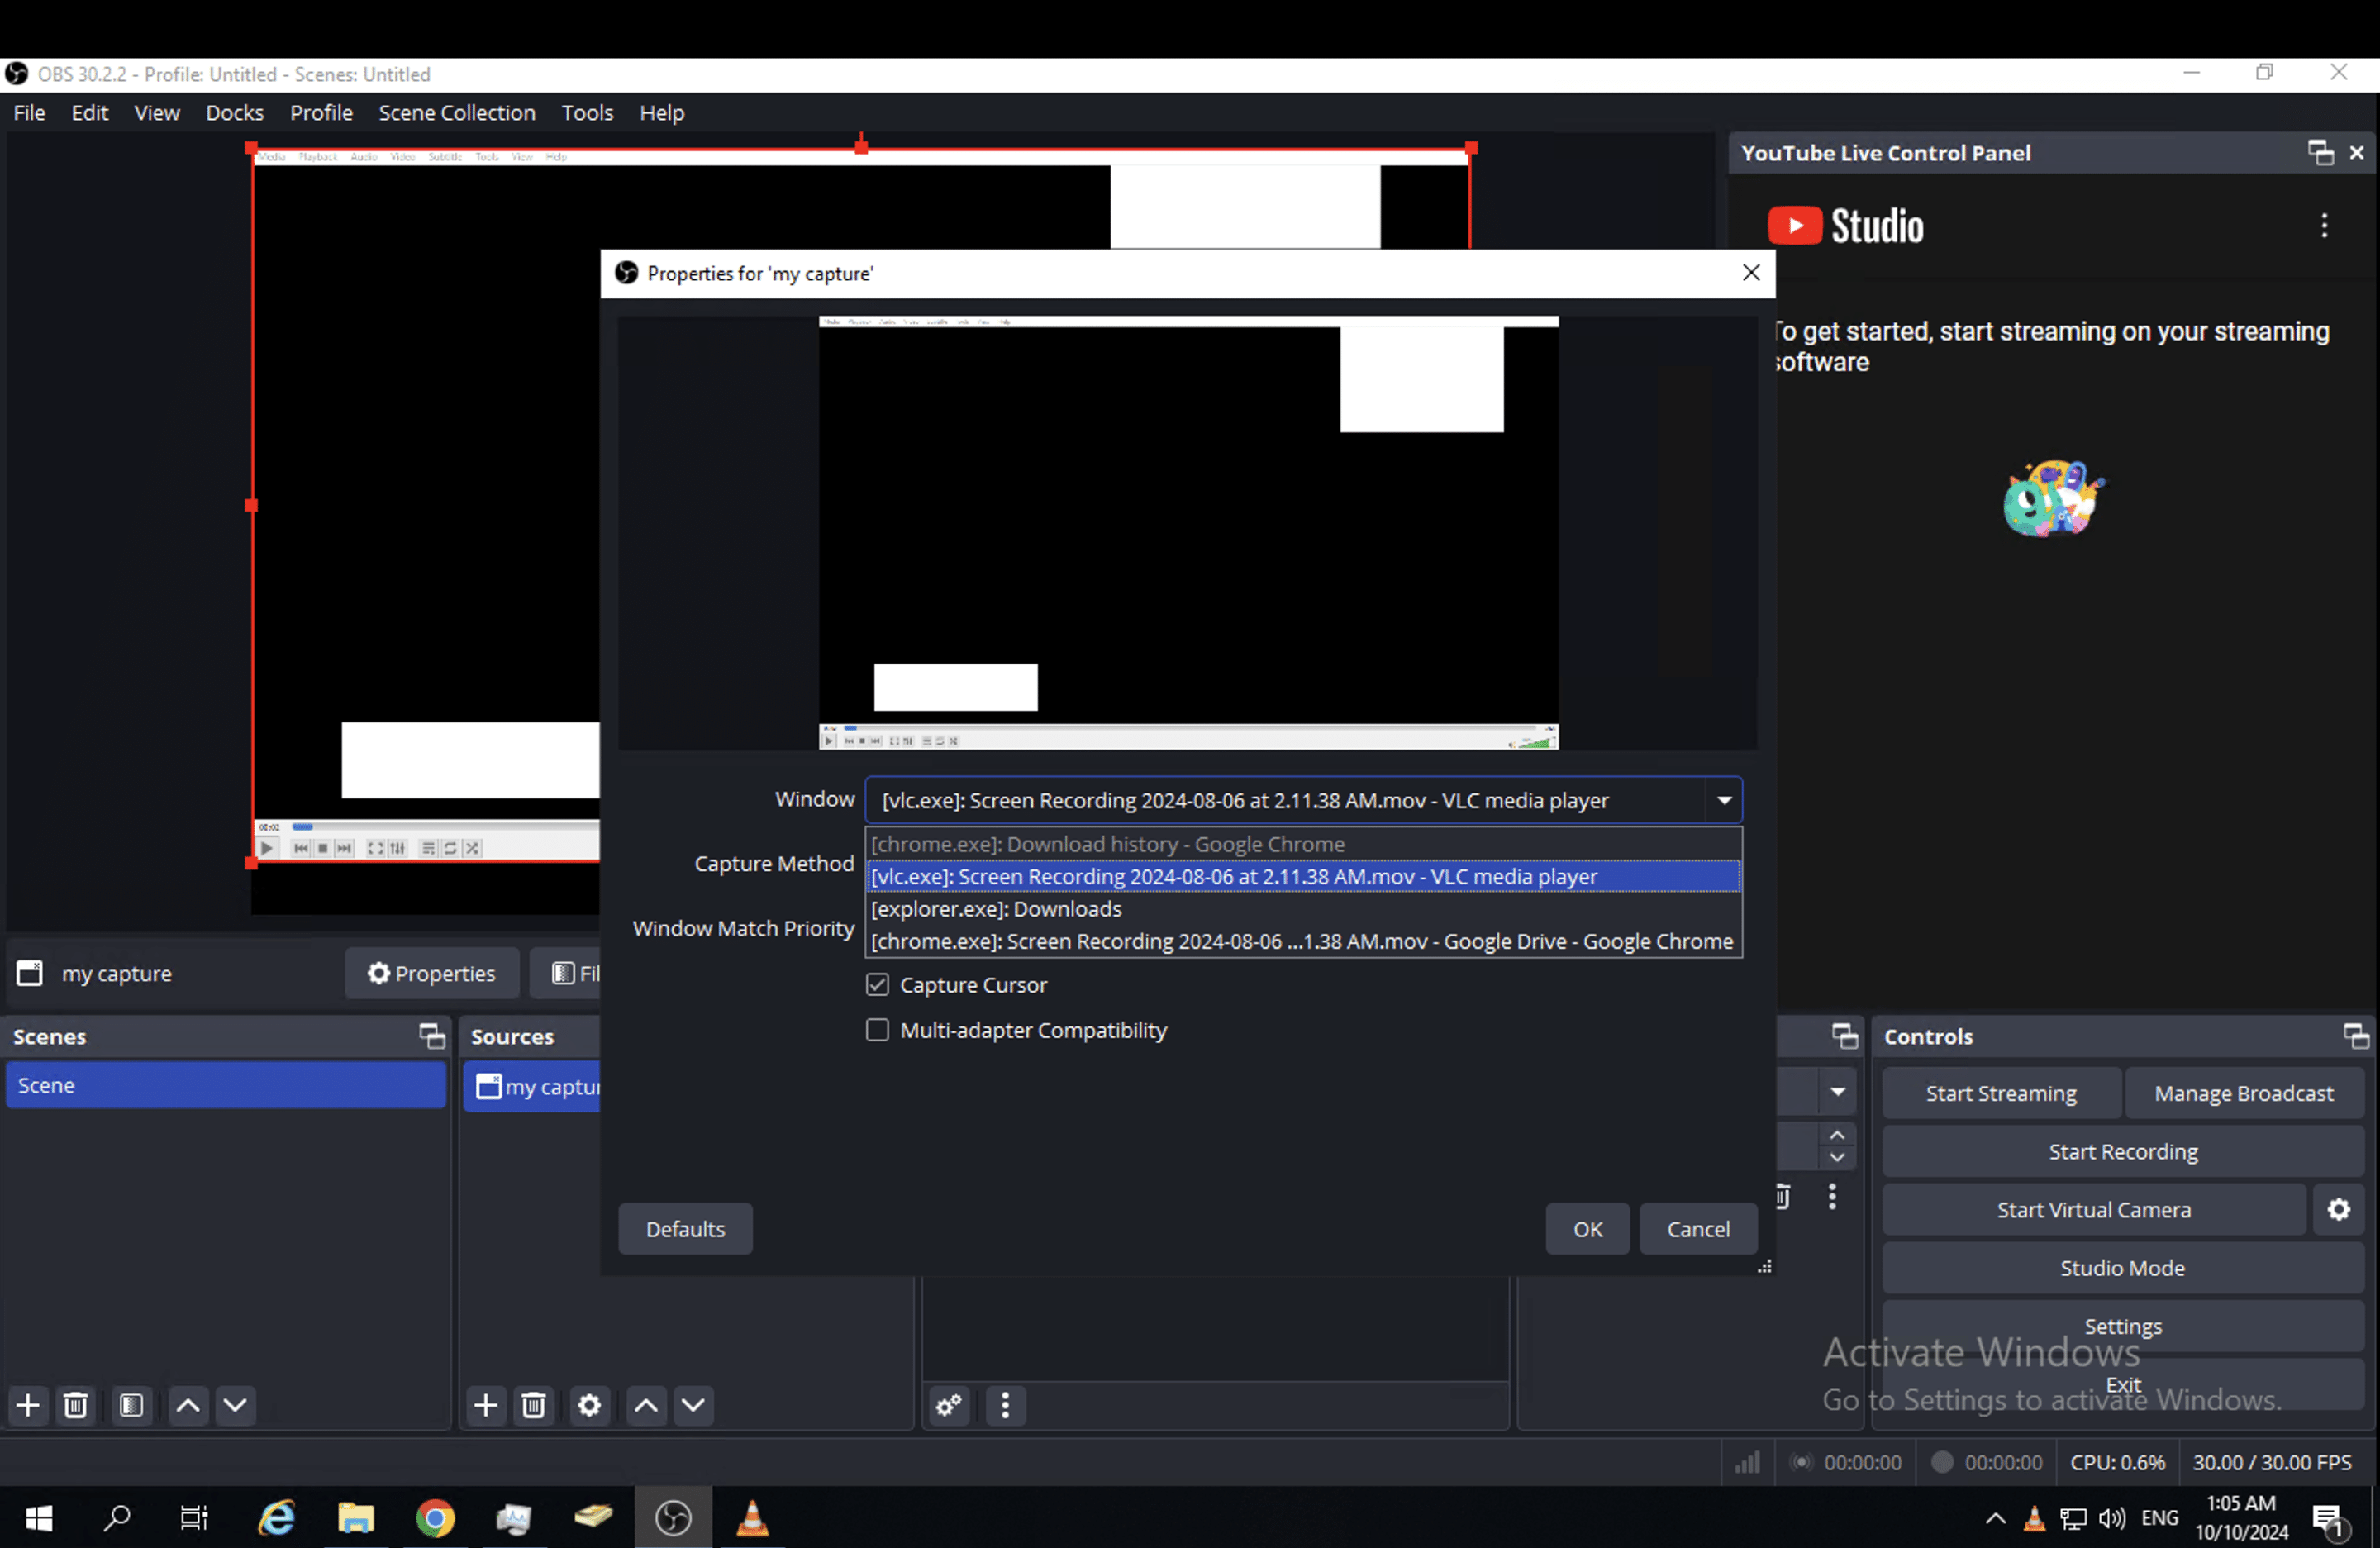
- Window: Select the window you want to capture from the dropdown list.
- Confirm Settings: Keep other settings default and click OK.
- Check Live Stream: On your local computer’s web browser, ensure the live stream displays correctly.

- Disconnect RDP: Once confirmed, disconnect from RDP.
- Connect via TightVNC Reconnect to your server using TightVNC.
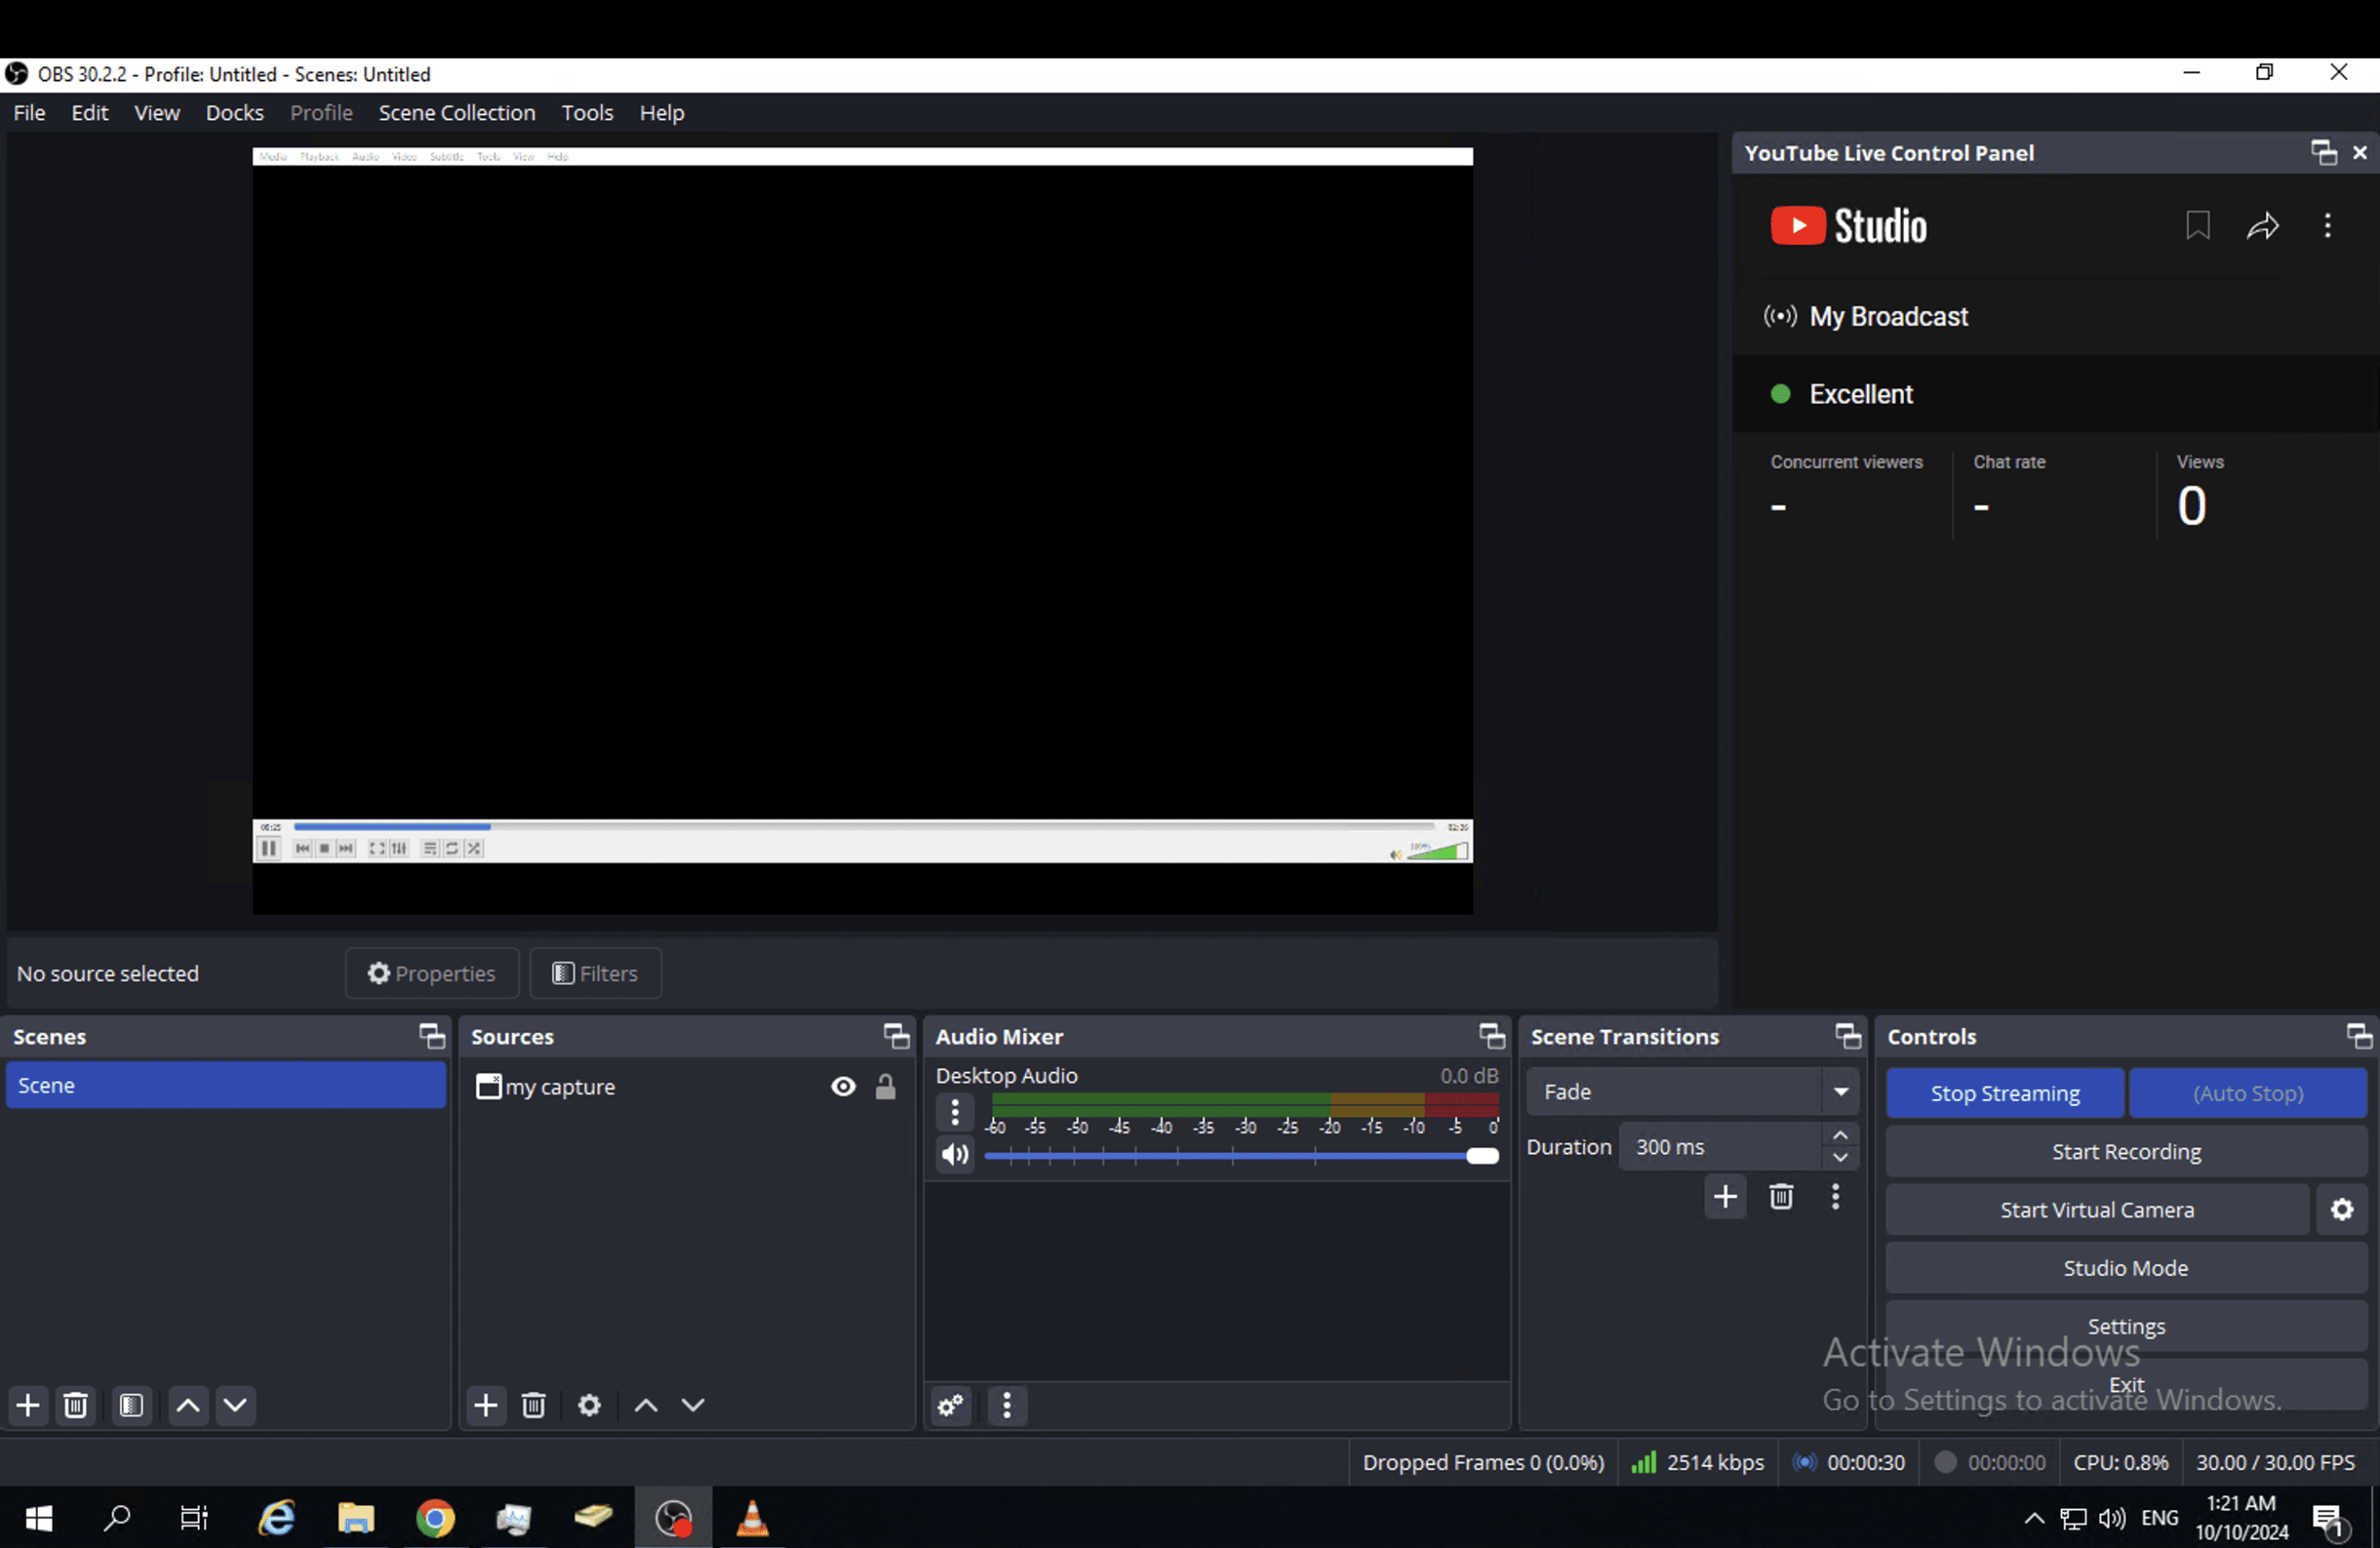
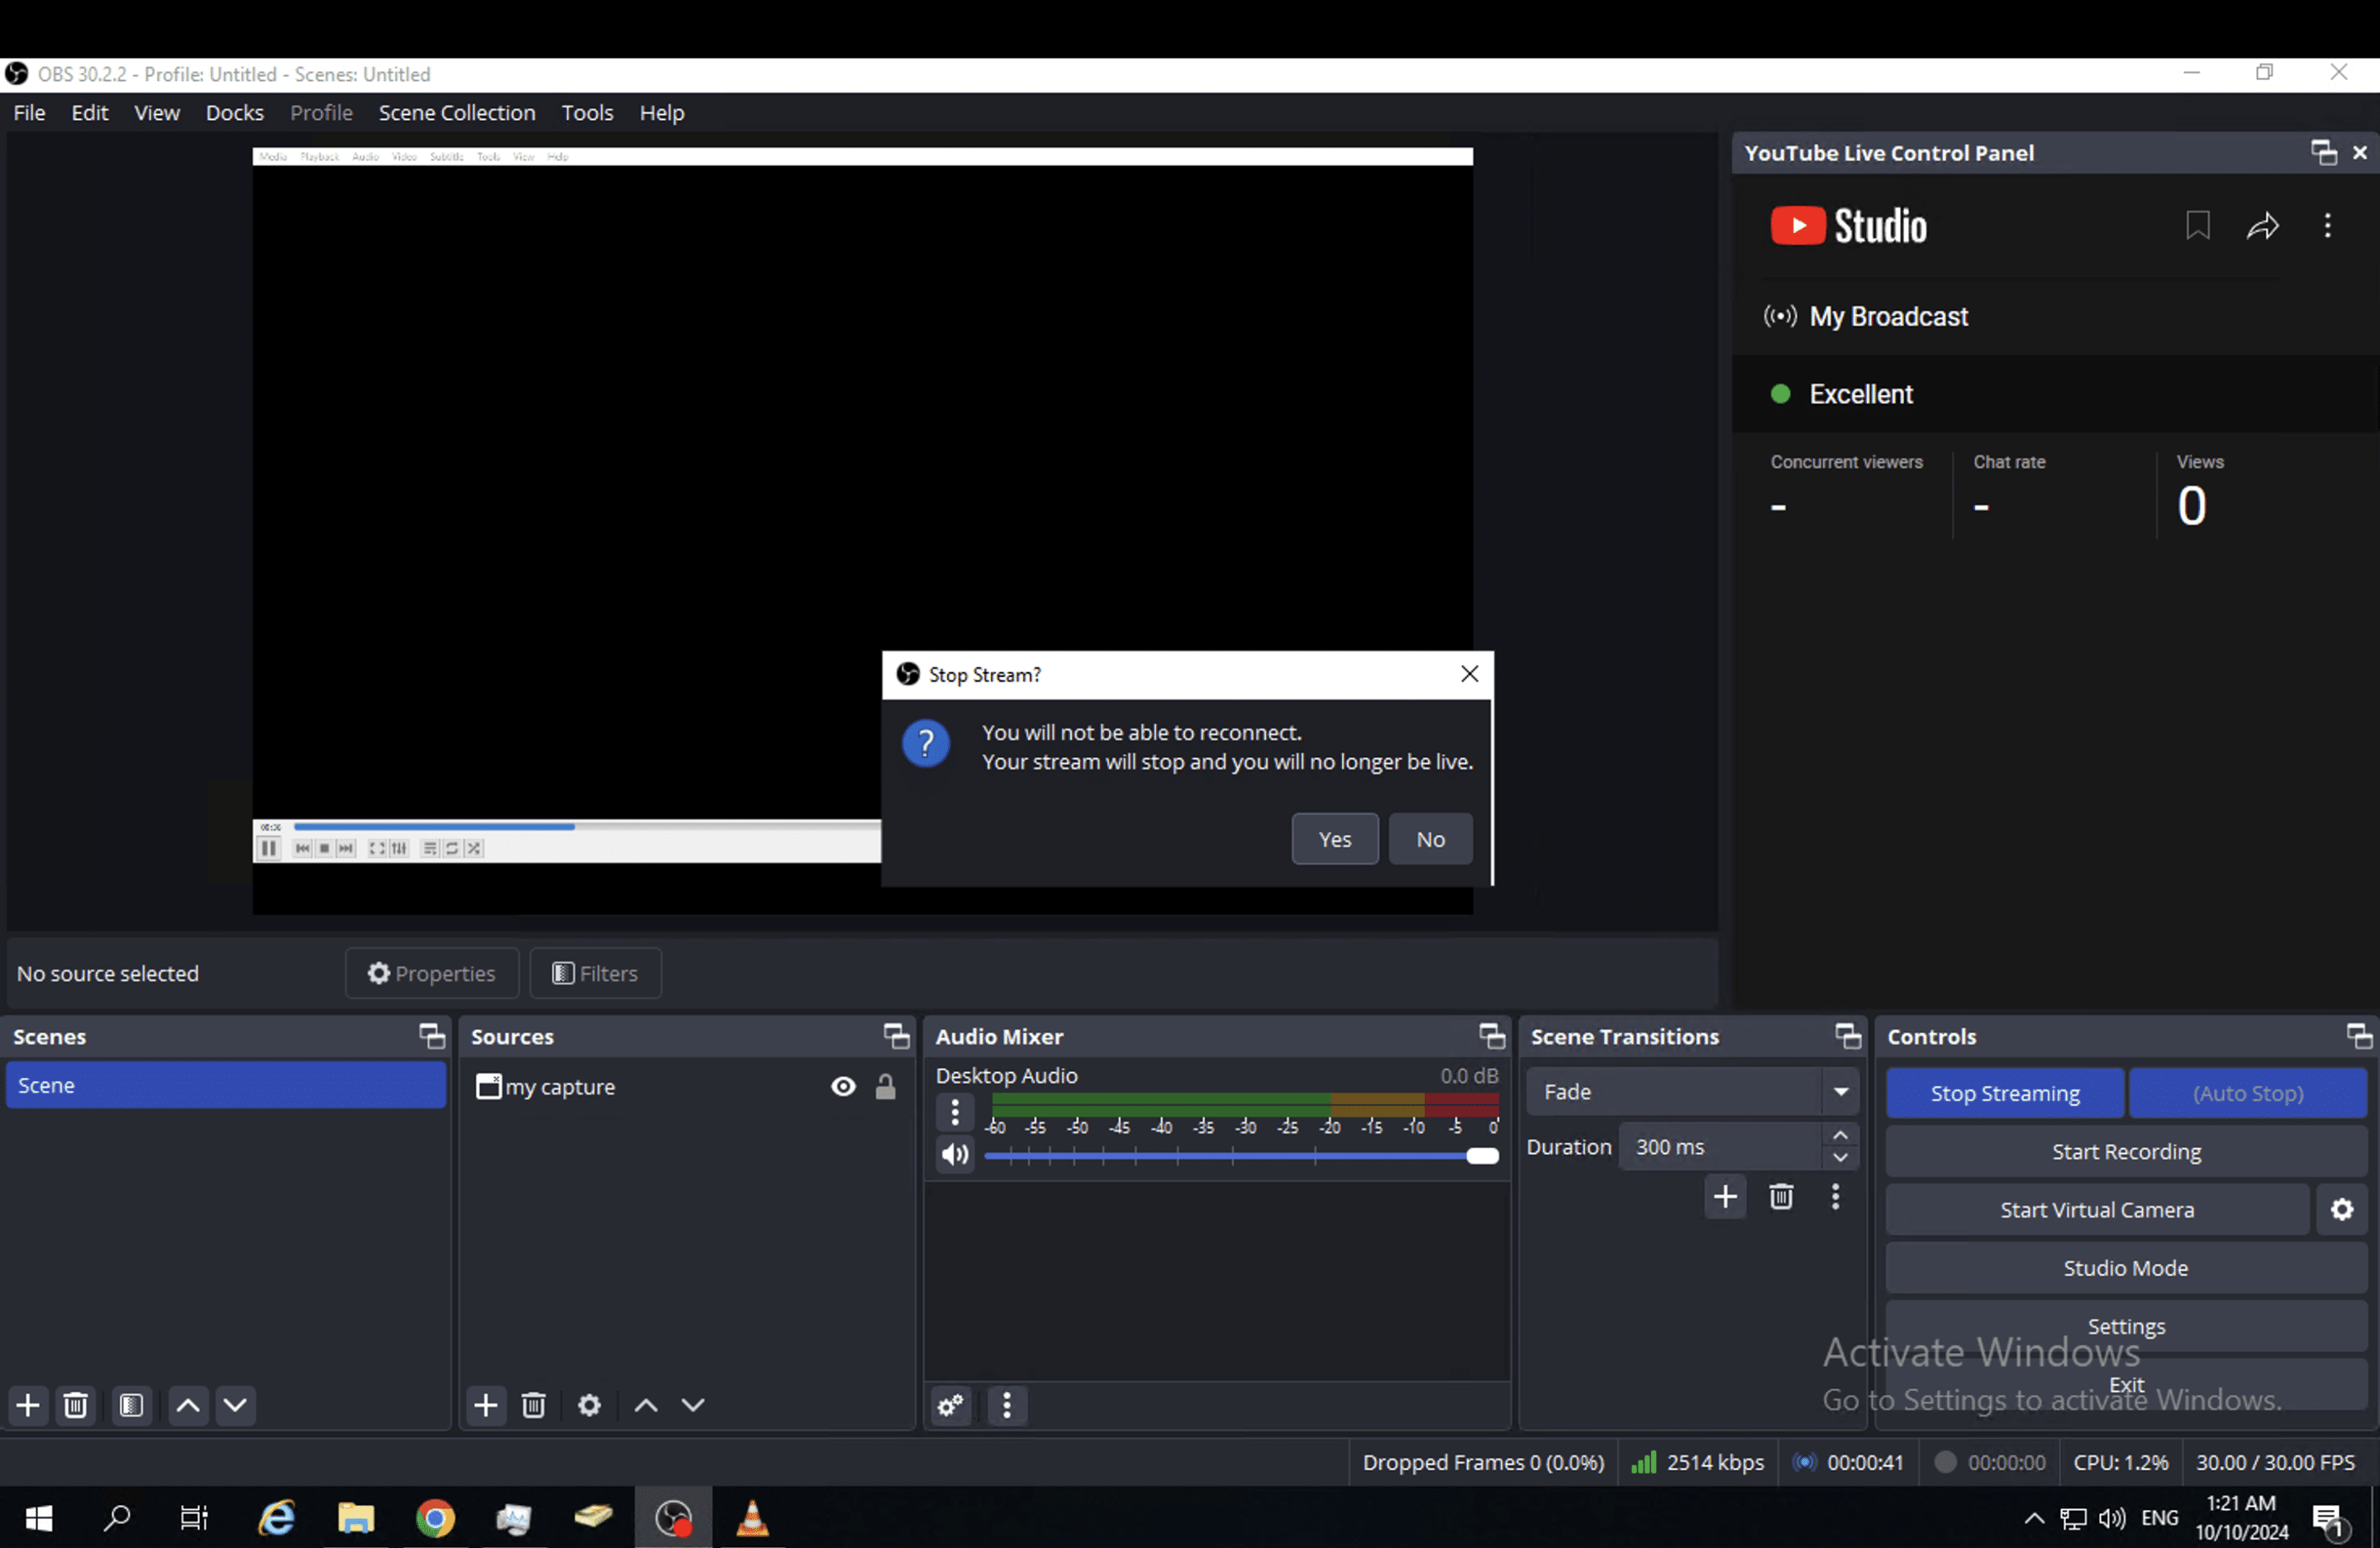
- Start/Stop Stream: In OBS, click Stop Stream if it’s streaming but showing a blank screen. Then click “Start Streaming” to begin the live stream.
- Verify Stream: Check the web browser on your local computer to ensure the live stream is active.
- Disconnect TightVNC: Once everything is working, you can disconnect TightVNC.
BEST SOLUTION

Use a Dedicated Streaming Server
For streamers who require a more robust solution, using a dedicated streaming server might be the best option. A Virtual Private Server (VPS) or dedicated machine specifically configured for live streaming can run OBS continuously without interruptions.
Benefits:
- Higher performance and stability.
- No reliance on a local machine.
- Freedom to disconnect without affecting the stream.