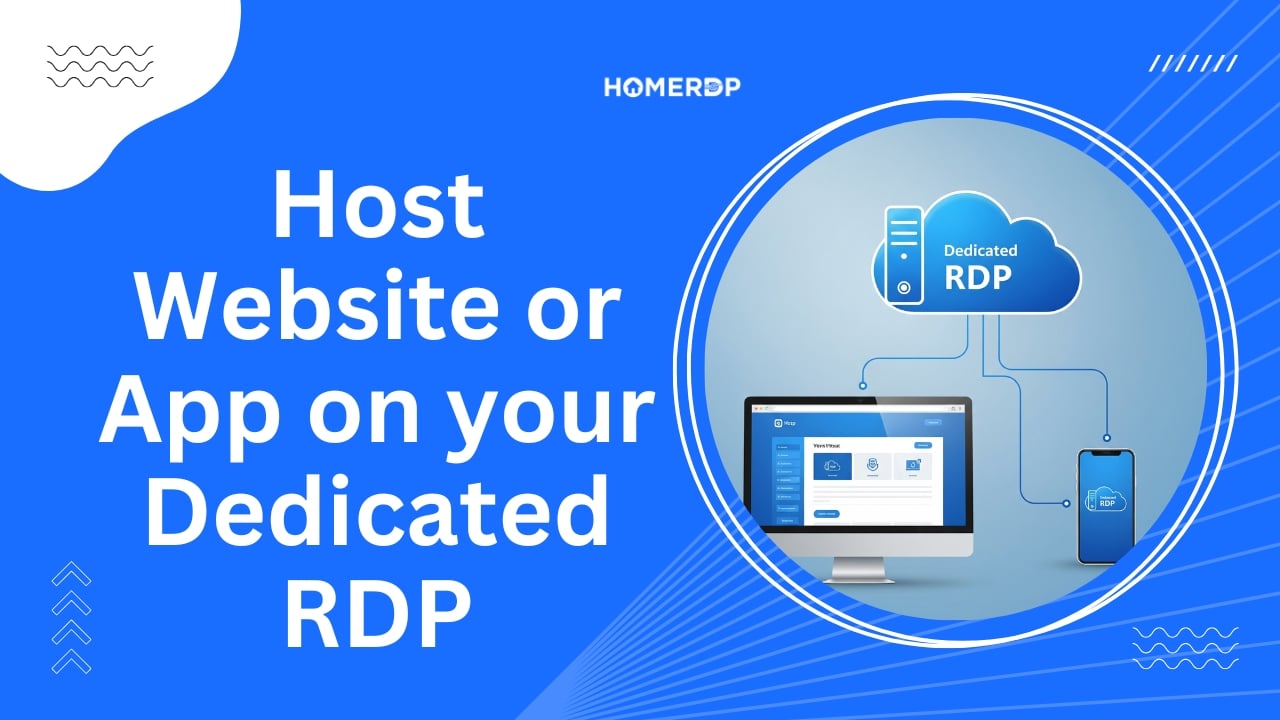
How to Host a Website or App on Your Dedicated RDP in 5 Easy Steps
Featuring HOMERDP’s Powerful Admin-Access RDP Services
In today’s digital economy, developers, startups, and businesses need more than just traditional shared hosting. Remote Desktop Protocol (RDP) hosting offers unmatched flexibility, complete administrative access, and computing power that supports everything from simple websites to full-stack applications and game servers.
With HOMERDP, you gain access to admin-level dedicated RDP hosting with Ryzen™ 9 7950X3D processors, premium SSD storage, and locations across Europe (Germany, Finland, Netherlands) to ensure low-latency global delivery.
If you’re ready to host your website or app on a dedicated RDP, this guide walks you through the process—step by step.

Why Host on Dedicated RDP?
Before we dive in, here’s why a Dedicated RDP, especially from HOMERDP, is a strategic edge:
- Full root/admin access: Install any software, web server, or runtime
- Powerful hardware: Ryzen 9 7950X3D, 128 GB RAM options
- SSD/NVMe speed: Fast I/O for databases and dynamic content
- Remote flexibility: Work from anywhere, deploy anytime
- Static IP address: Necessary for SSL & domain mapping
Pro Tip: HOMERDP offers Cheap Dedicated RDPs with Admin Access starting from $12.99/month—perfect for hosting, automation, development, or even game servers.
Step 1: Choose the Right RDP Plan
Analyze Your Hosting Requirements:
| Project Type | Minimum Specs Needed |
|---|---|
| Static Website | 2–4 GB RAM, Basic CPU, Windows/Linux RDP |
| Dynamic PHP/Python App | 8+ GB RAM, SSD, XAMPP/Django stack |
| Node.js API Server | Ryzen CPU, 16+ GB RAM, Node + PM2 |
| SaaS or Game Platform | Ryzen 9 7950X3D, 32–128 GB RAM, GPU optional |
Best Pick for Hosting:
HOMERDP’s Vector 6 – Ryzen™ 9 7950X3D
- 16 Cores / 32 Threads
- Windows Server 2022
- Up to 128 GB RAM
- Locations: Finland or Germany
- Full Admin Access
🔗 Explore HOMERDP Dedicated RDP Plans →
Step 2: Set Up Your Web Hosting Stack
Once connected to your RDP through Remote Desktop (via IP, username, and password from HOMERDP’s client panel), install your preferred stack:
🔸 For PHP Websites:
- Download XAMPP or WAMP
- Start Apache + MySQL
- Place your files in
htdocs/
🔸 For Python Apps (Flask/Django):
- Install Python 3.x
- Use
pip install gunicorn django - Set up a virtual environment
- Deploy using Gunicorn + Nginx
🔸 For Node.js Apps:
- Install Node.js + npm
- Install PM2 for production process management
- Configure reverse proxy with Nginx
HOMERDP’s Ryzen 9 processors offer excellent single-thread performance, making them ideal for backend-heavy frameworks and database access.
Step 3: Configure Firewall, Ports & Security
To make your server publicly accessible:
Open Essential Ports:
| Port | Service | Protocol |
|---|---|---|
| 80 | HTTP | TCP |
| 443 | HTTPS | TCP |
| 21 | FTP | TCP |
| 3306 | MySQL | Optional |
How to do it:
- Go to
Windows Defender Firewall > Advanced Settings - Inbound Rules > New Rule > Port
- Open TCP ports 80 & 443
- Restart your web server
HOMERDP provides DDoS protection, brute-force prevention, and secure Admin access—your server is safe from common threats out-of-the-box.
Step 4: Upload Your Website or App Files
There are several ways to deploy your code or files to your RDP server:
Options:
- FTP: Use FileZilla with your IP and credentials
- Cloud Sync: Sync from Google Drive, OneDrive, Dropbox
- Git Deployment: Install Git, clone your repository
- Manual Copy: Use Remote Desktop’s clipboard or mapped drives
Once uploaded:
- Place static/dynamic content in your web server’s root directory (
htdocs,/var/www/, etc.) - Run any build or install commands (
npm install,python manage.py migrate)
HOMERDP servers offer up to 10 Gbps network speed, which means quick file transfers and responsive deployments even for large apps.
Step 5: Connect a Domain and Launch
To make your app or website accessible with a custom domain:
🔗 Connect Domain:
- Log in to your domain registrar (e.g., Namecheap, GoDaddy)
- Navigate to DNS settings
- Set A Record to point to your RDP’s static IP (provided by HOMERDP)
- Optionally set CNAME, MX records for emails or subdomains
Add SSL:
Install Let’s Encrypt or Cloudflare SSL (free):
- For Apache: Use Certbot
- For Nginx:
sudo certbot --nginx - On Windows/IIS: Use CertifyTheWeb or Win-ACME
HOMERDP provides dedicated static IPs, which are essential for seamless domain-to-server linking and SSL certification.
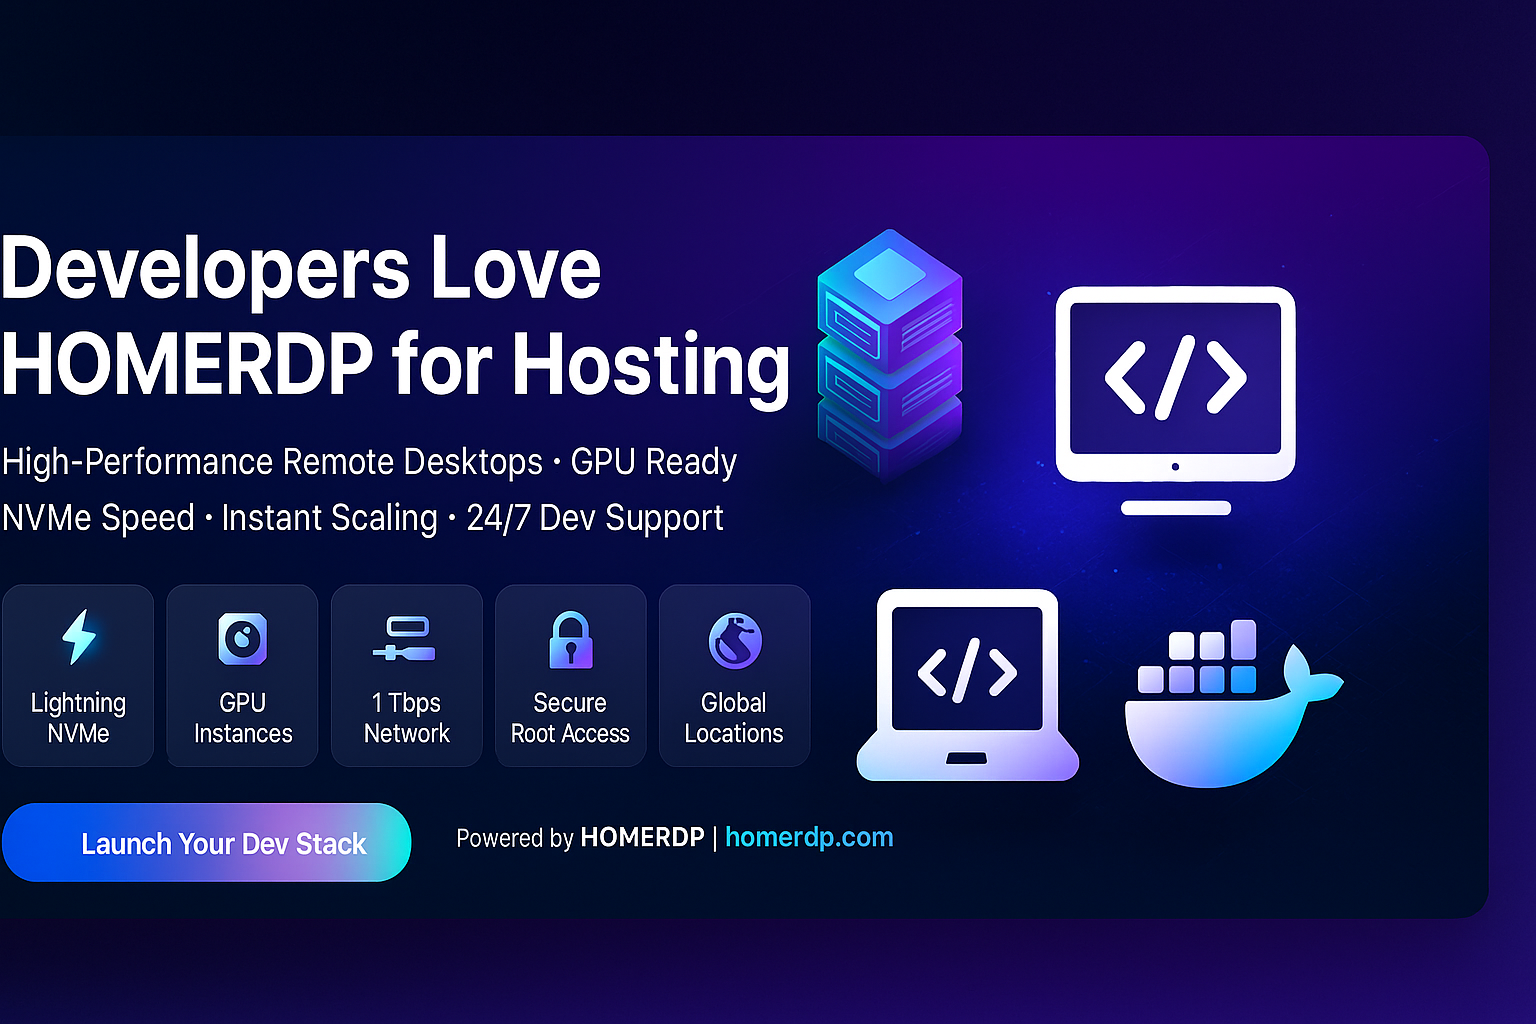
Bonus: Why Developers Love HOMERDP for Hosting
| Feature | HOMERDP Advantage |
|---|---|
| Admin Access | Install any stack or custom service |
| AMD Ryzen™ 9 7950X3D CPU | Superior performance for hosting, DBs, and APIs |
| Full SSD Storage | Fast boot and load speeds |
| Europe-Based Data Centers | Low latency, GDPR compliance |
| Scalability | Upgrade RAM/CPU anytime with instant provisioning |
| Affordable Monthly Pricing | Plans starting from $12.99/month |
| 24×7 Support | Expert assistance for networking, setup & security |
Conclusion
Hosting your website or application on a Dedicated RDP is no longer reserved for enterprise developers. With platforms like HOMERDP, you get high-performance hardware, full admin rights, and global infrastructure at a fraction of the cost of traditional cloud services.
Whether you’re hosting a Node.js API, a WordPress blog, a Python dashboard, or an eCommerce app, HOMERDP makes it easy to get started—fast, secure, and scalable.
Ready to Go Live?
👉 Visit HOMERDP.com to choose your plan and launch your app today.
EXPLORE MORE; KDE Plasma 6.4 + HOMERDP